Week 4:
Progress made on hand-drawn topographic map. Obtained a school-licence version of ArcGIS software for manipulating topographic data gathered from government websites like NOAA and USGS.
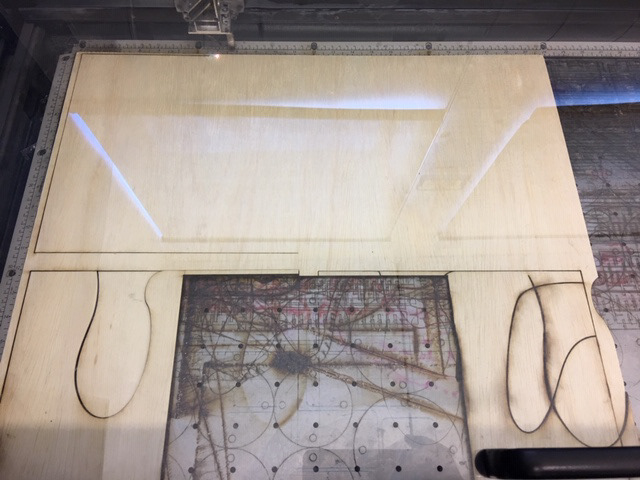
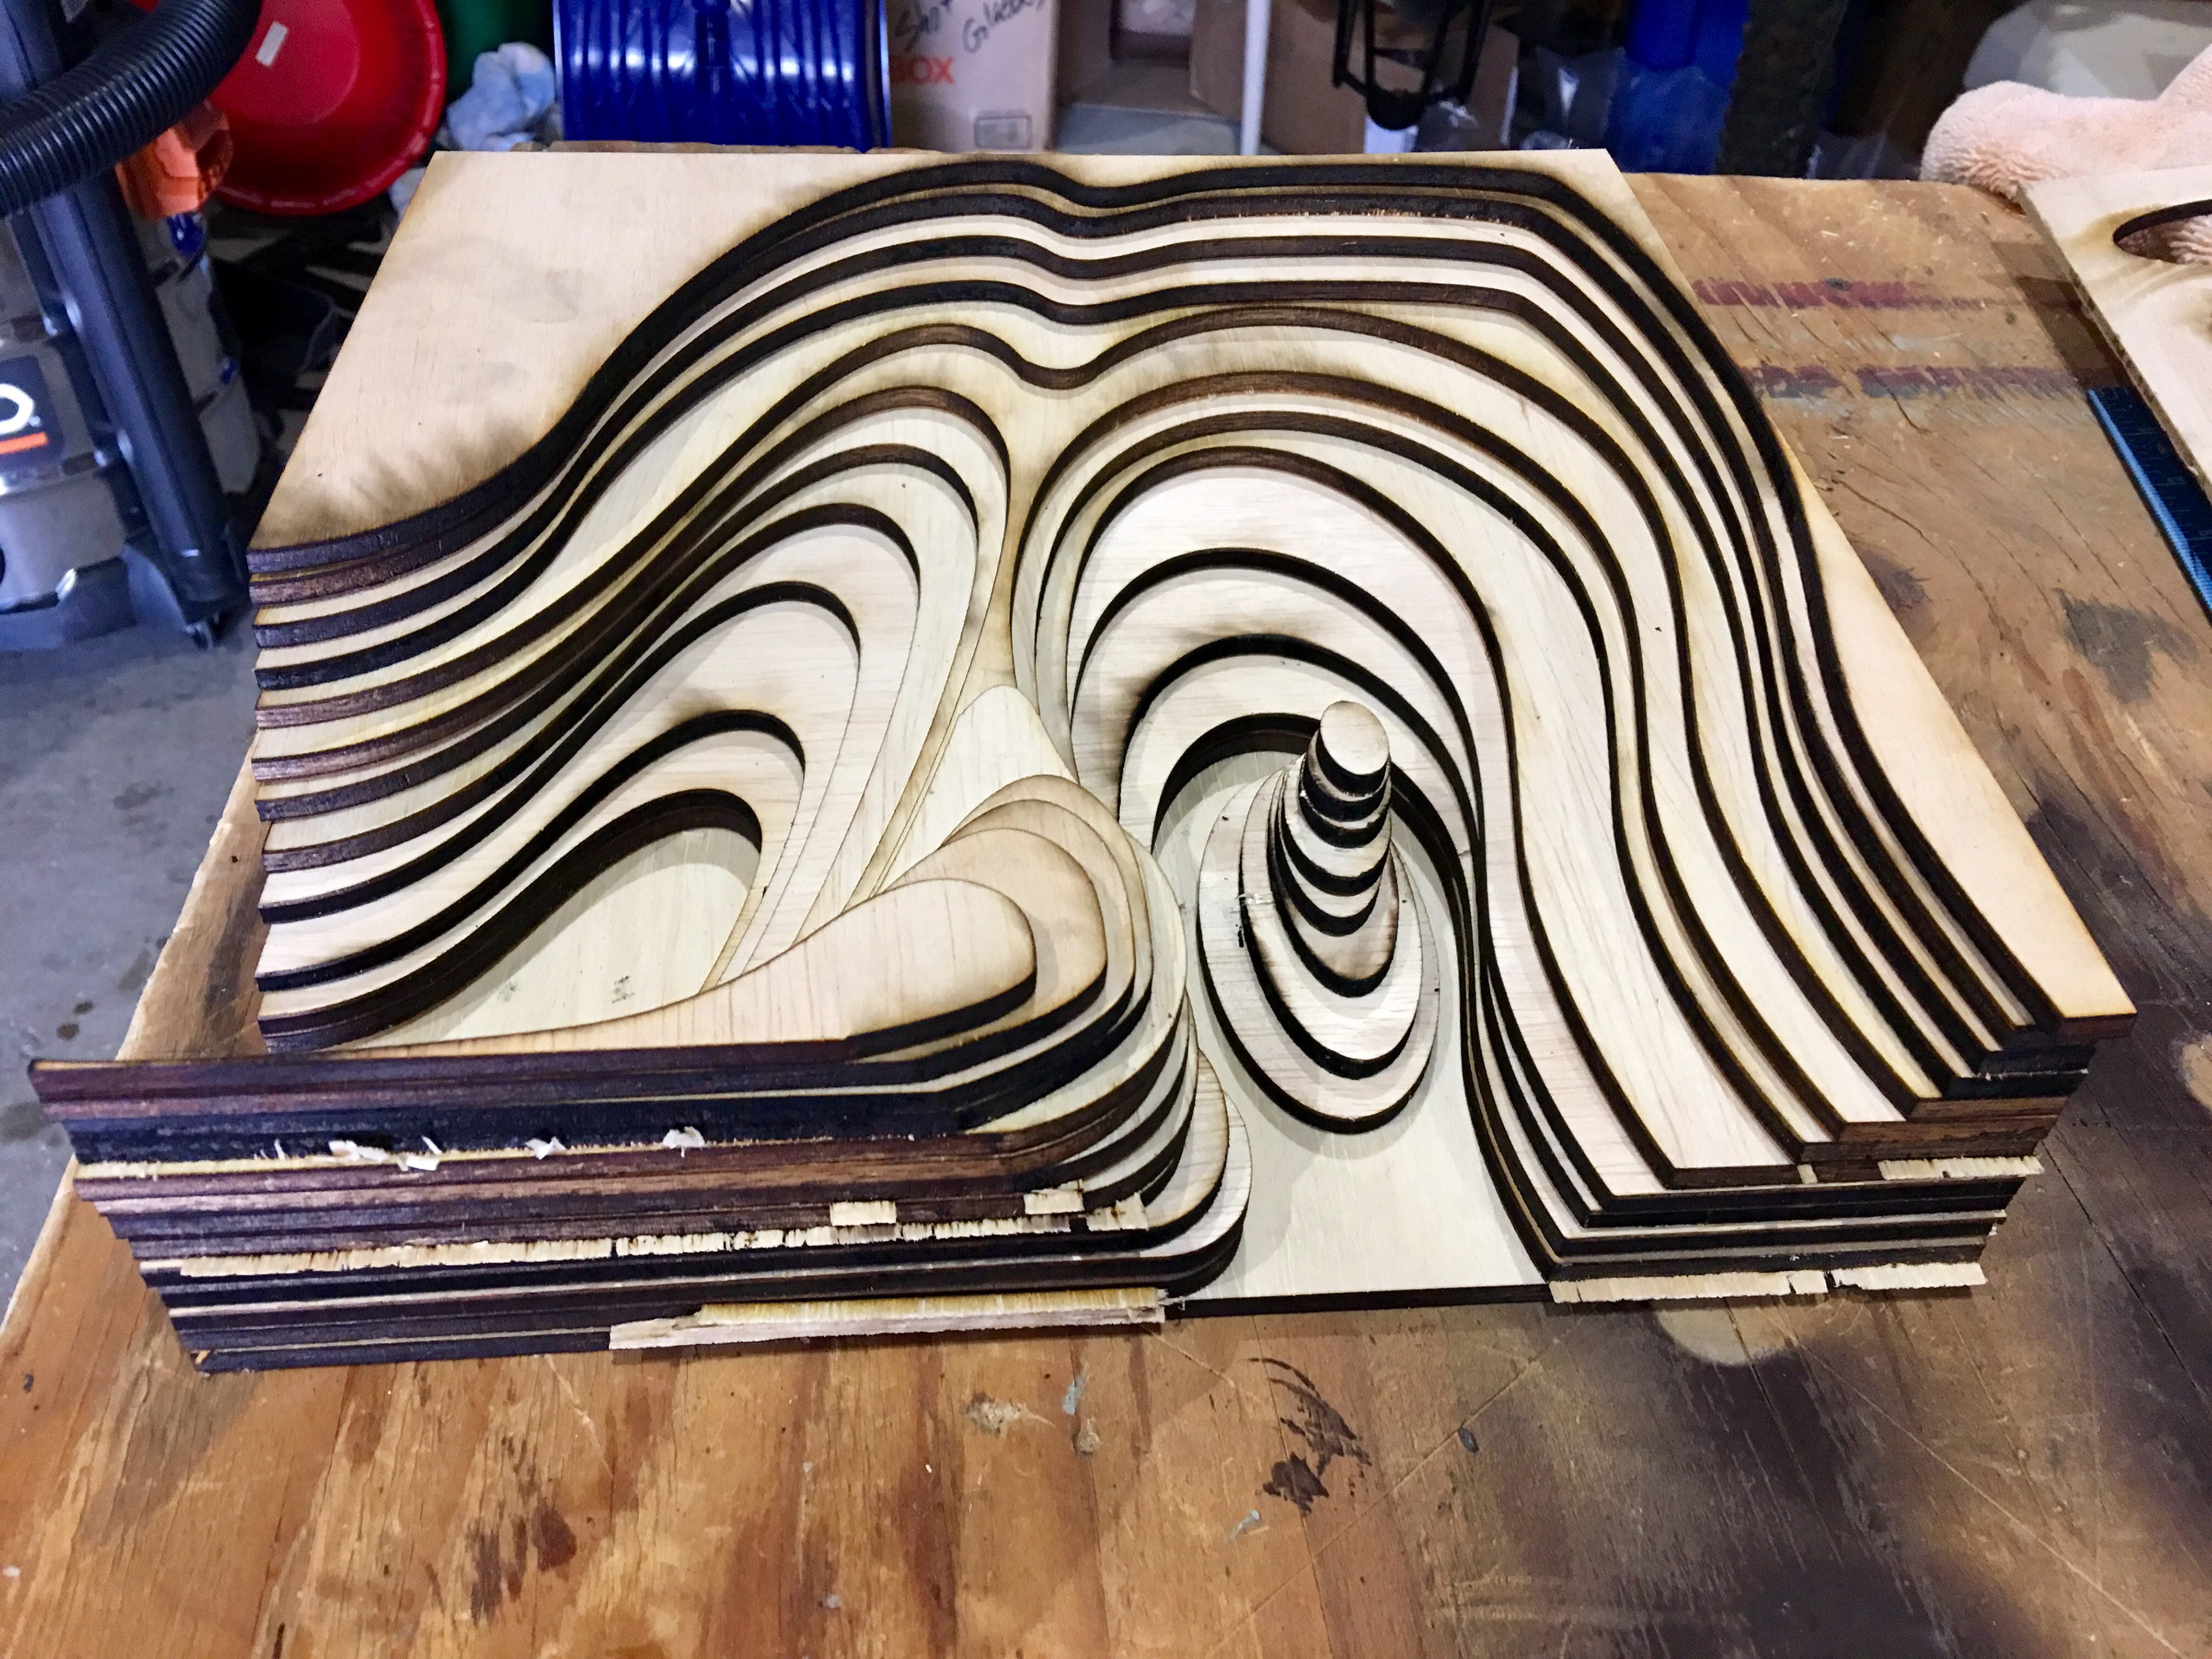
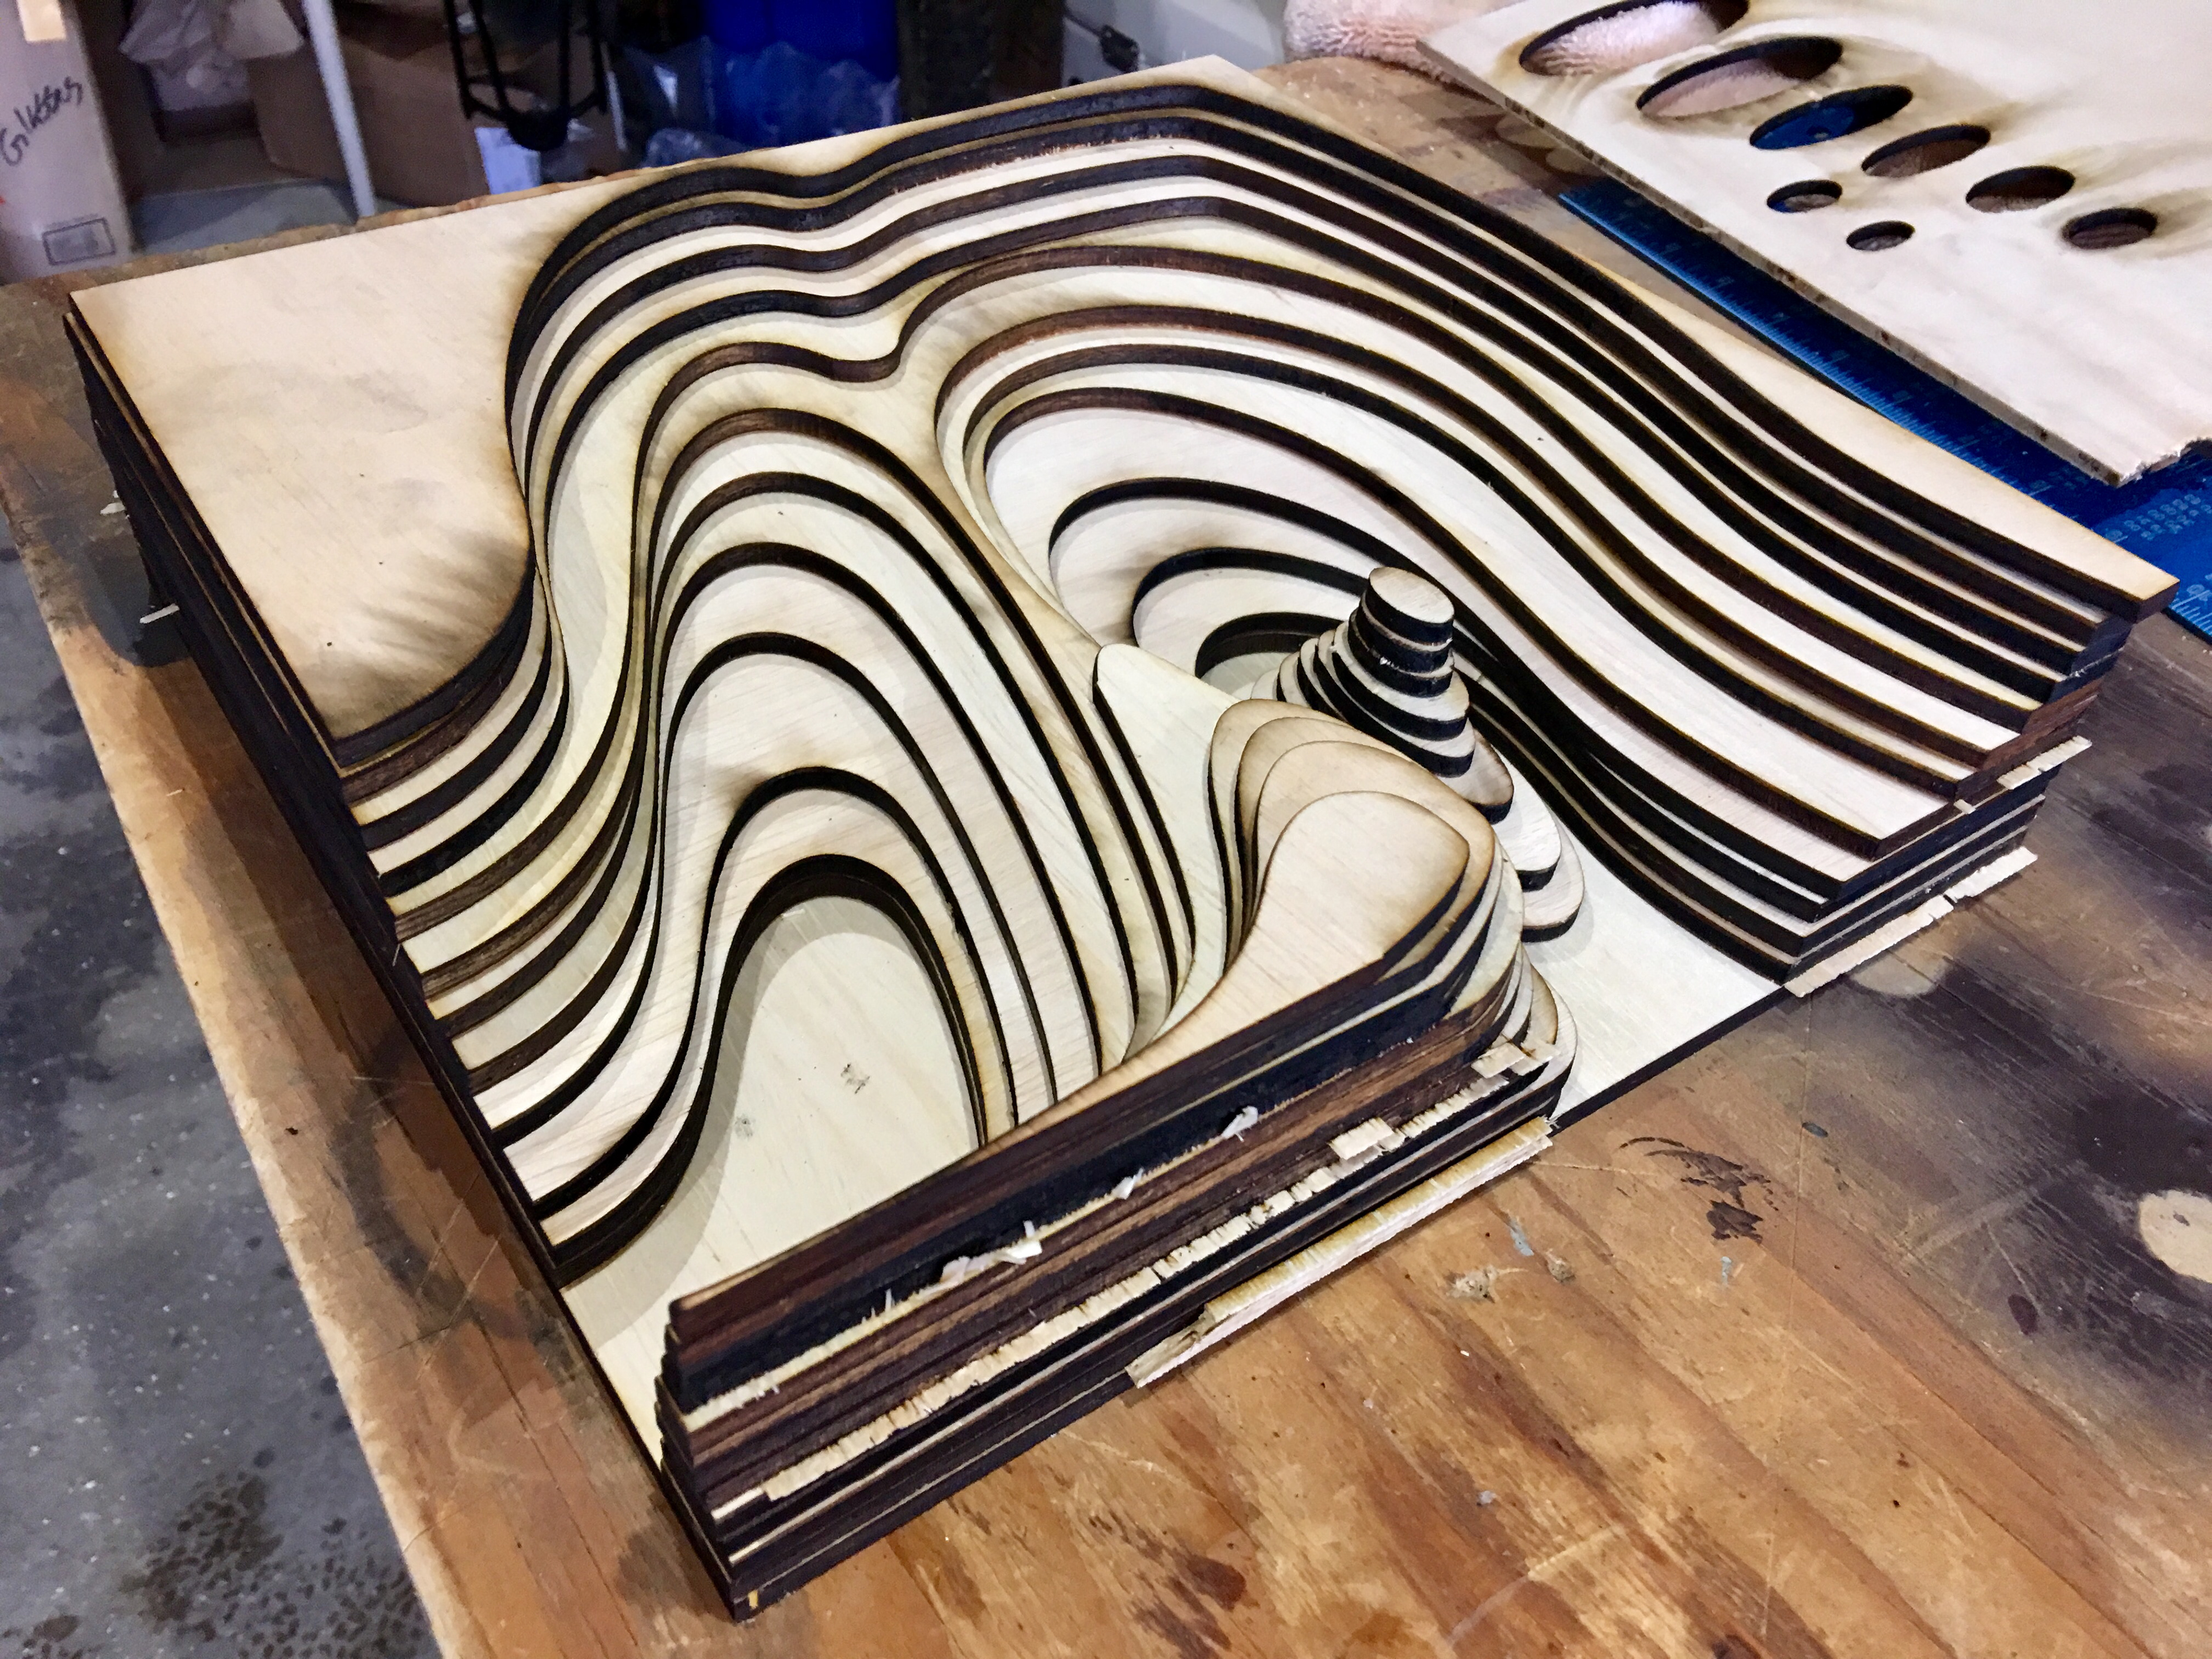
Week 5:
Laser cut my topographic prototype, sanded and glued all the layers together. Ran test lights and glued various other components to test as well. I wanted to see the effect the heating epoxy resin has on different glues such as hot glue and other quick-dry epoxy that will be used to embed shells and plastic pieces. Additionally, I crafted a casting mold using melamine board, high-temp hydrophobic tape and silicone mold spray.
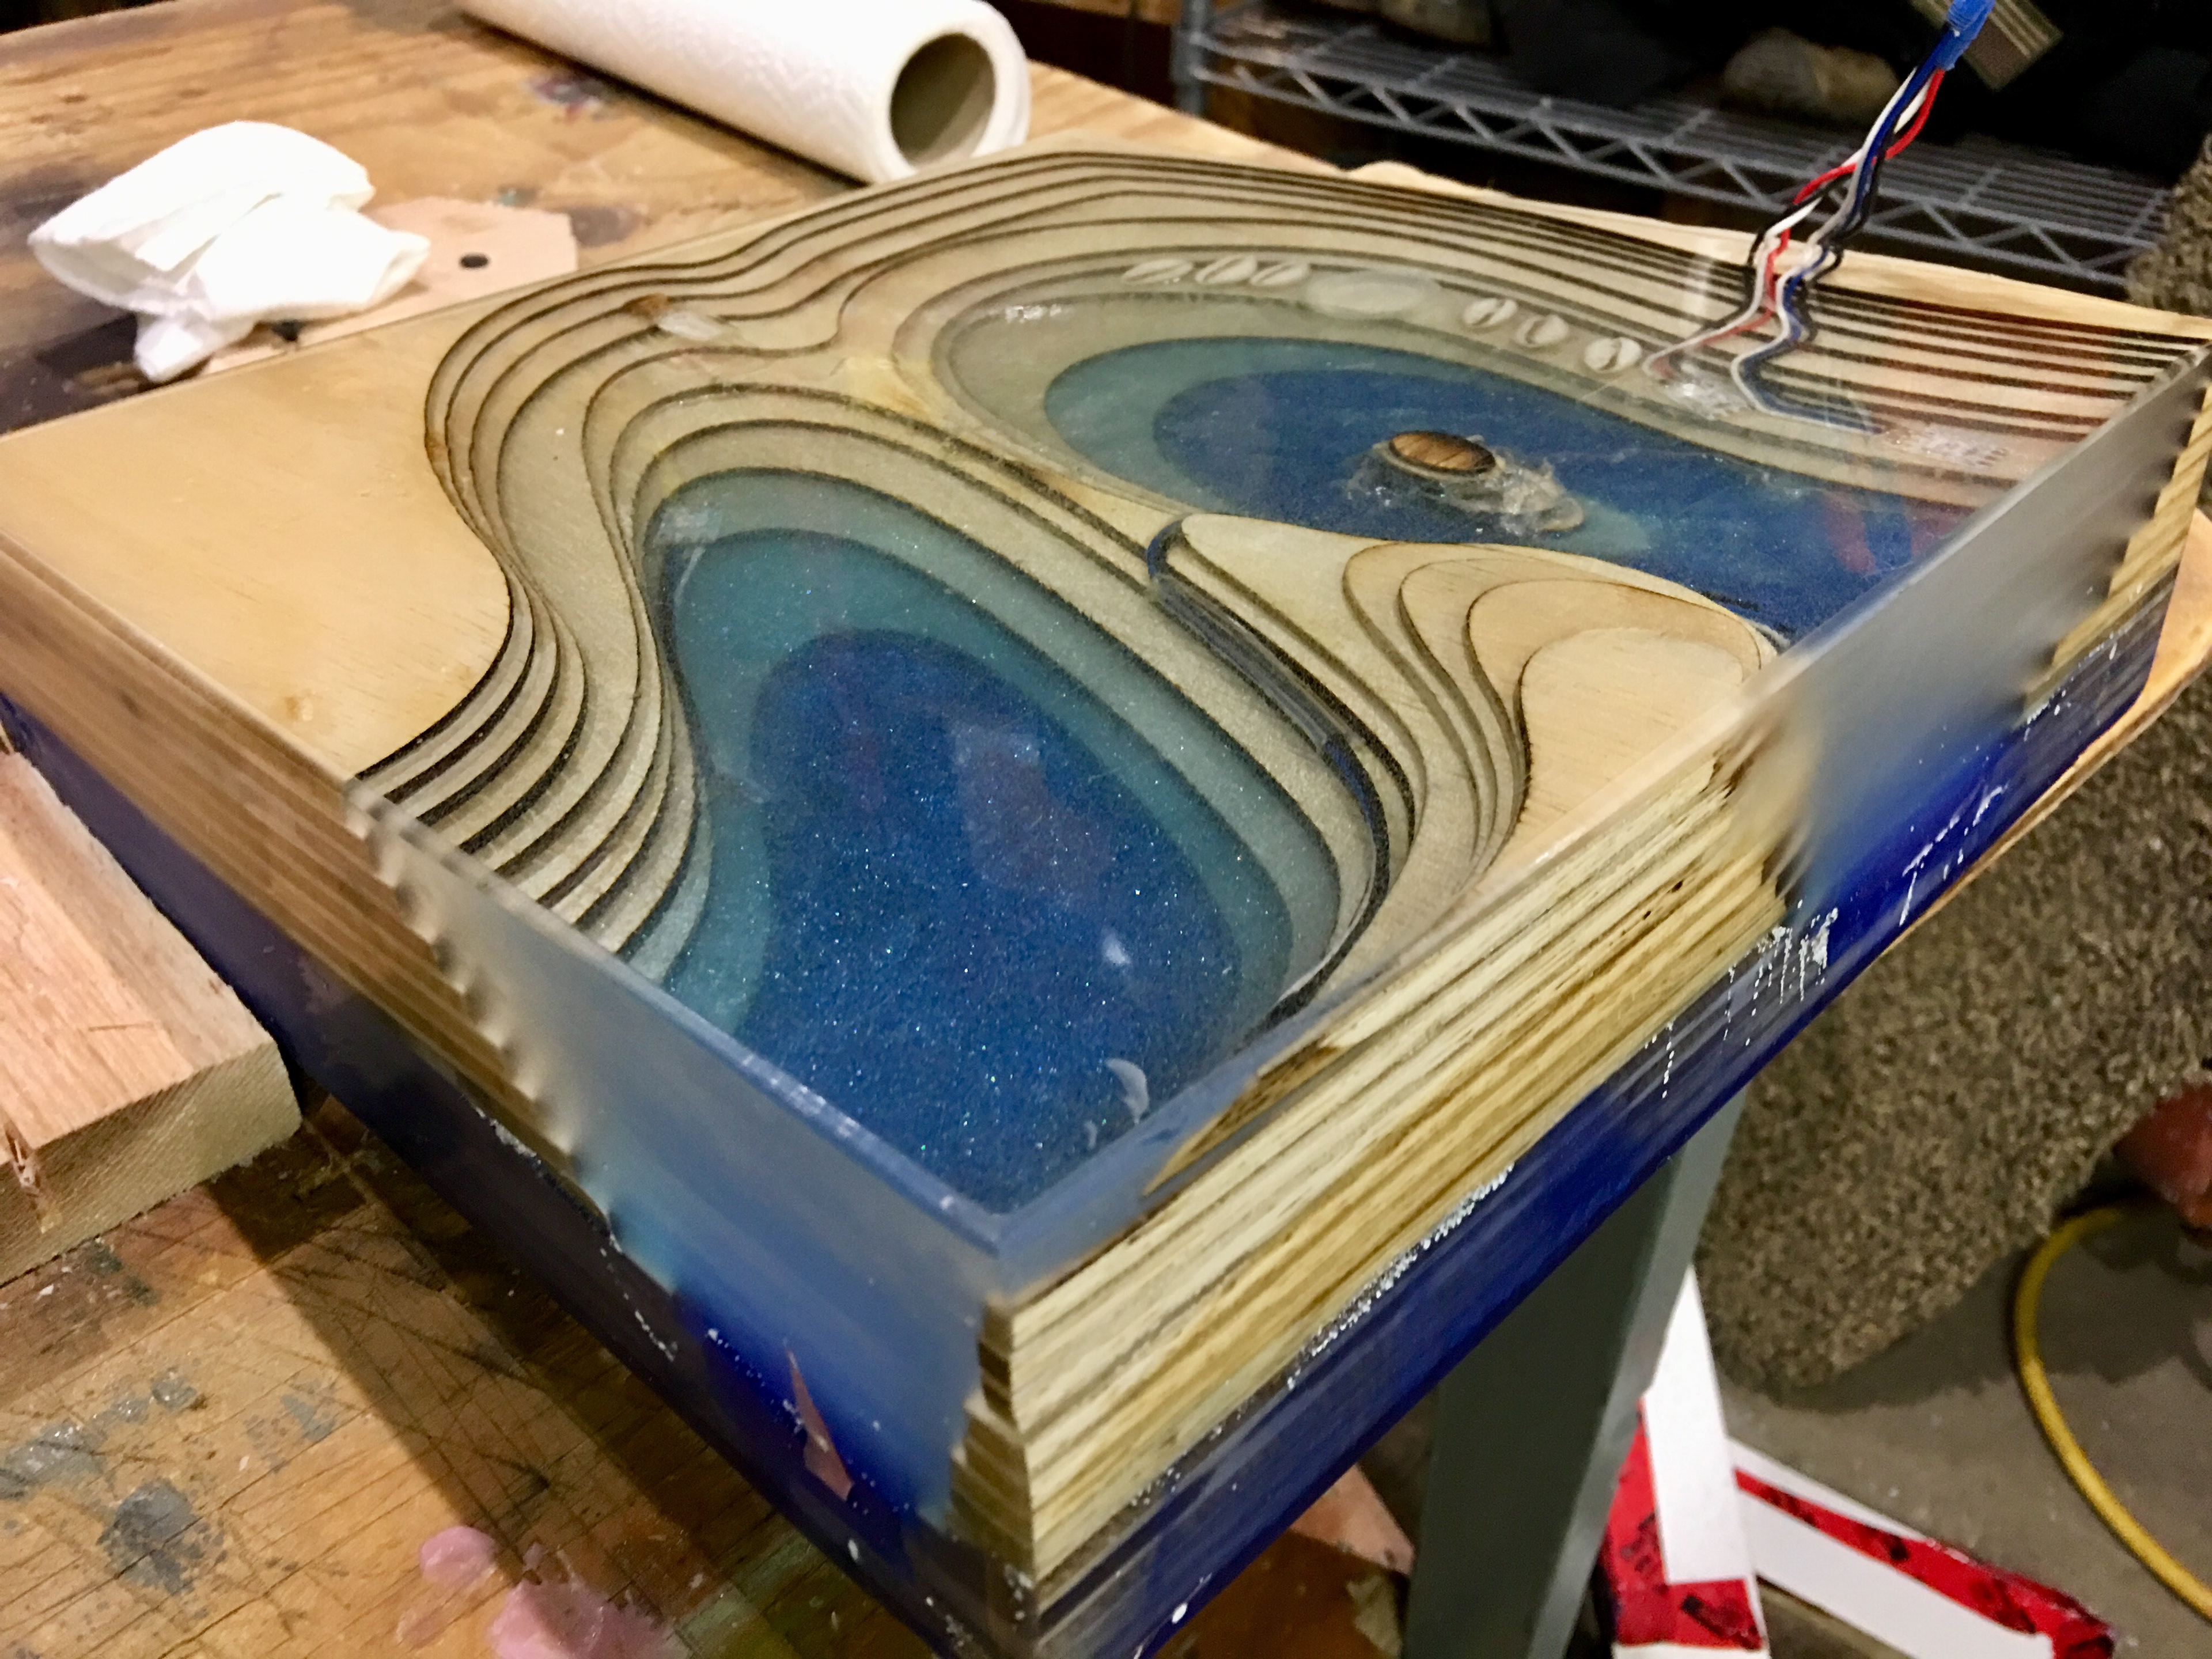
Week 6:
Met with Paul again in an attempt to get real topographic data for use on the model, but it's a tedious process that hasn't produced the desired results just yet. Began pouring resin layers in the prototype mold, 1/4" at a time with 6-8 hours curing time between pours. I have learned a great deal about releasing bubbles from the epoxy and the fine balance between getting the bubbles out and making the resin too hot in the process.
Week 7:
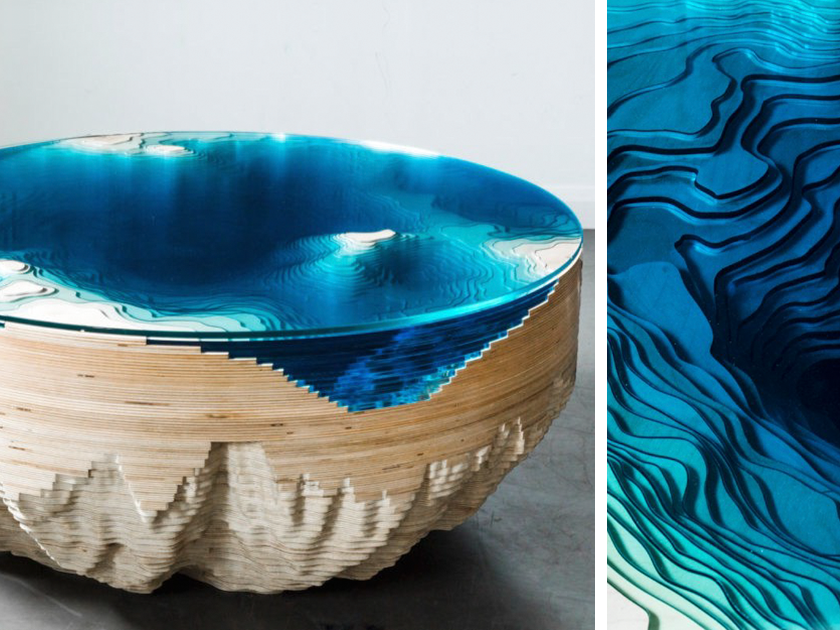
The resin pours were finished and it came out fairly nice. Many lessons were learned in this process, one major one would be the design of the topography to better hide wires and LEDs. Using Adobe Illustrator I began drawing a popular dive site on the island of Kauai that features ancient lava flow tubes which will be used to house the LEDs pointing downward from the overhanging archways. The main purpose of this is to make the actual LED less obtrusive and create a more appealing ambient light structure within the piece.