Week 1:
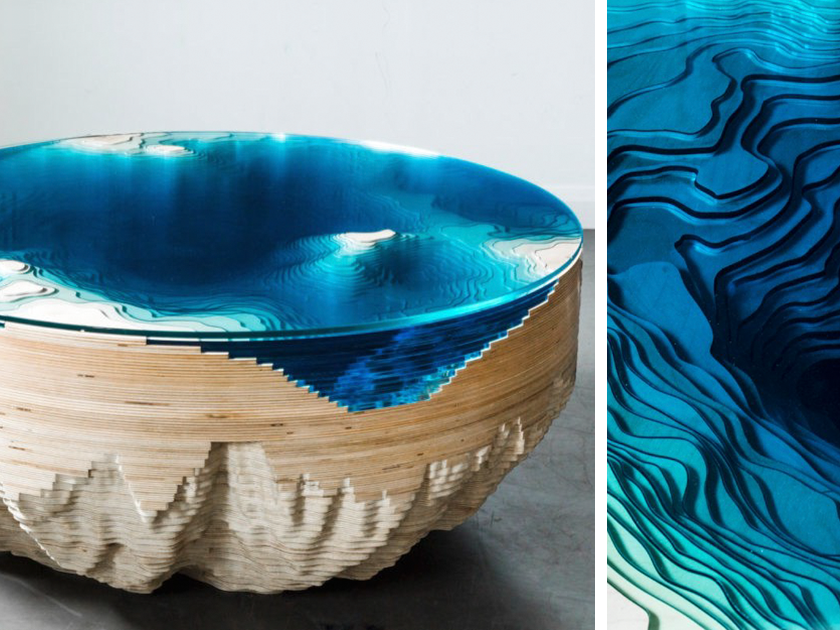
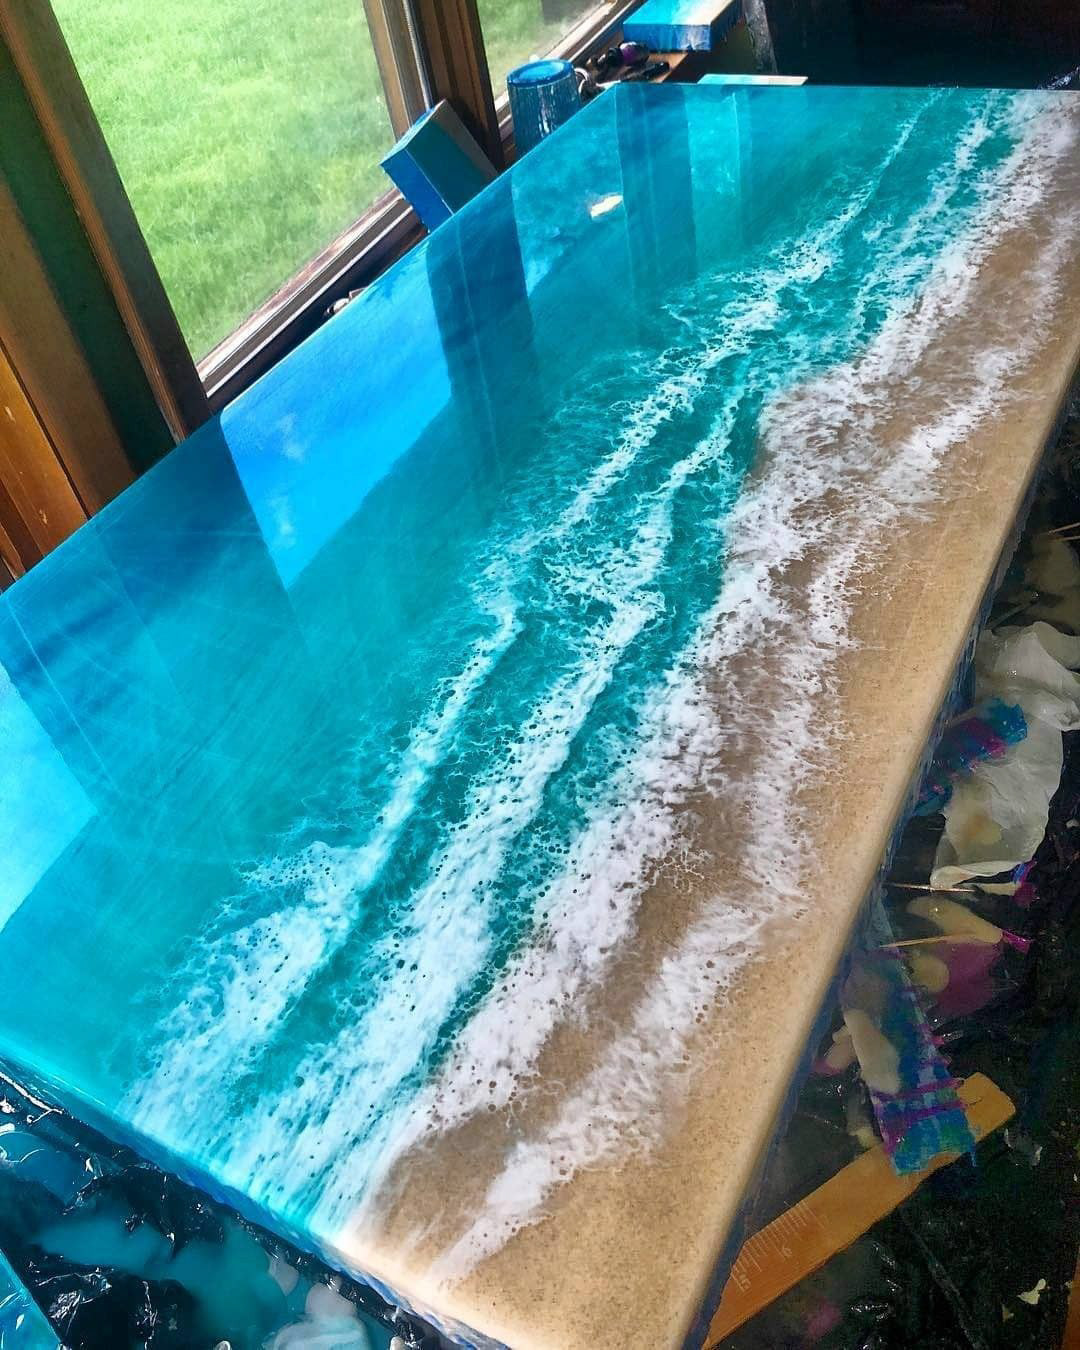
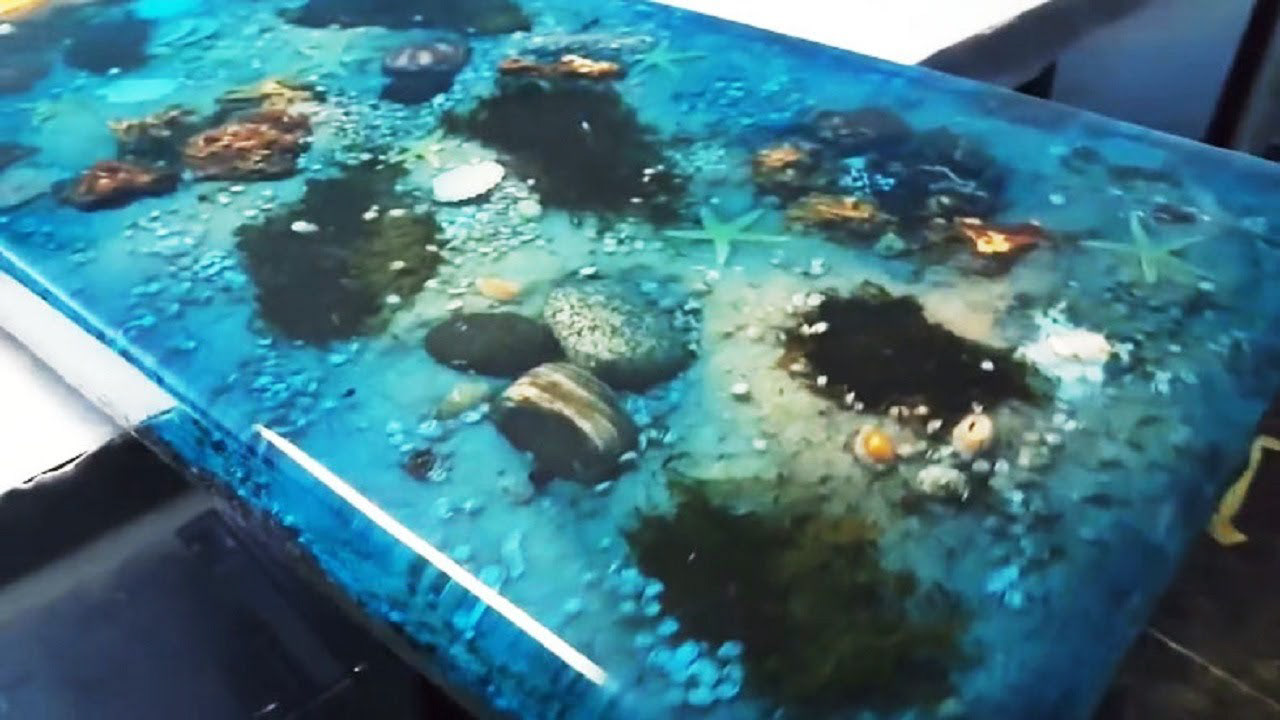
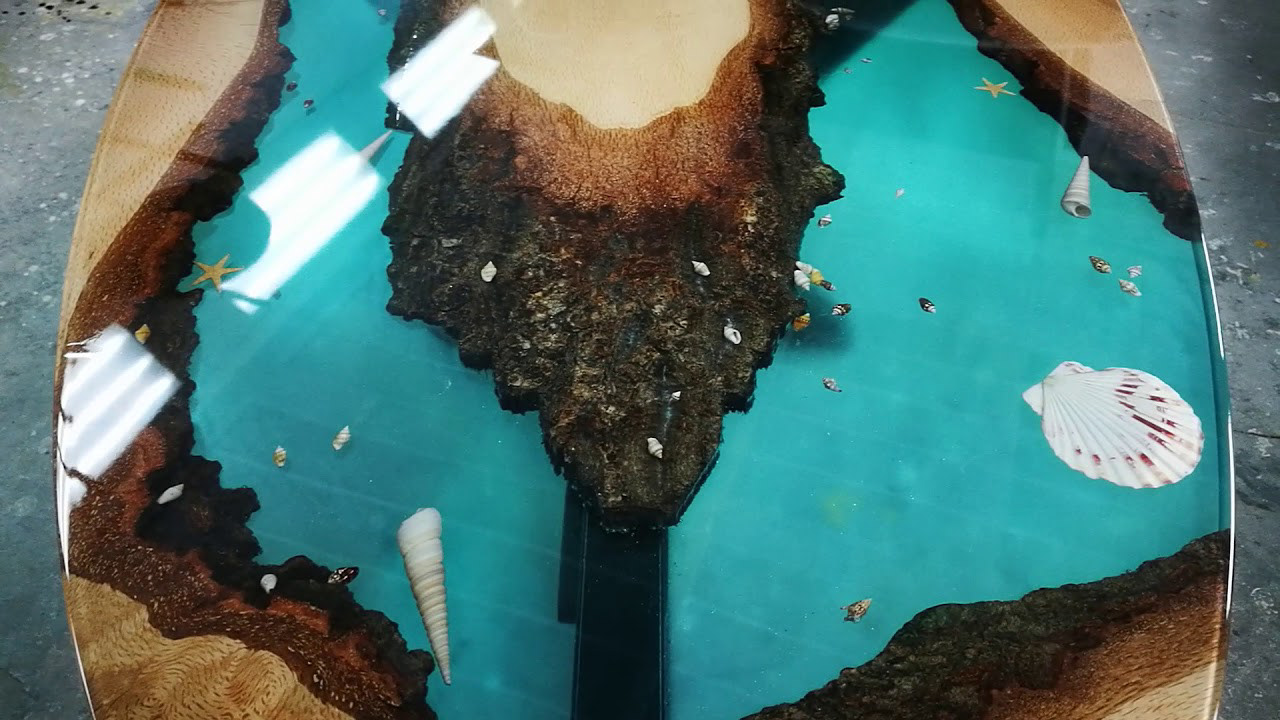
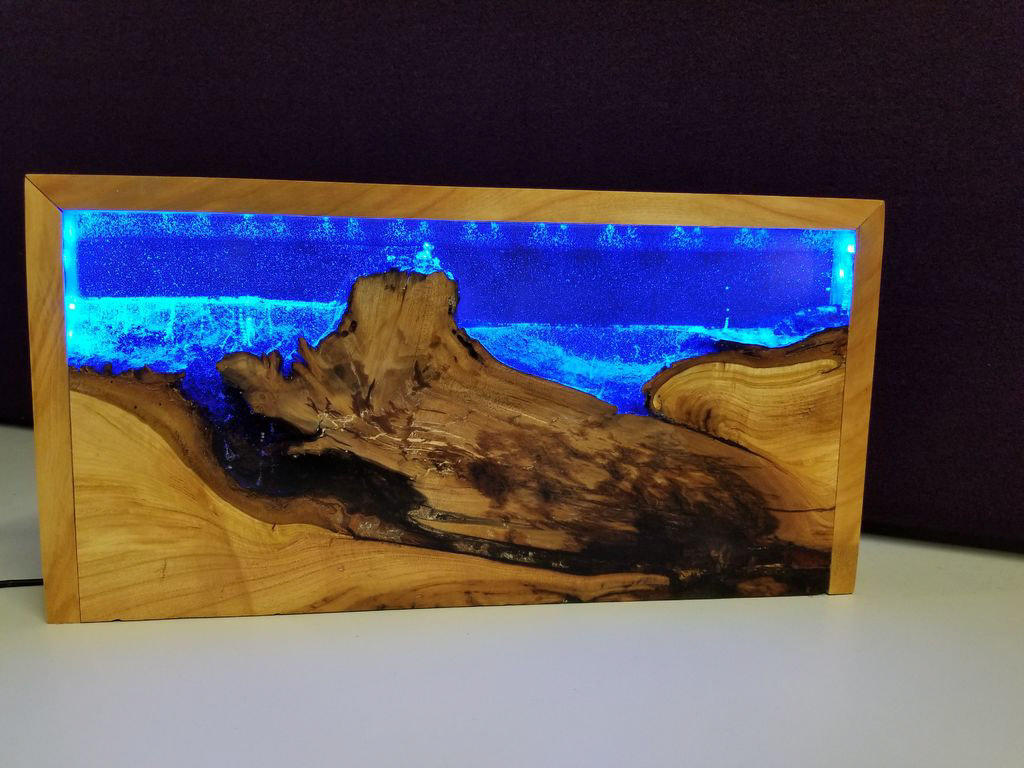
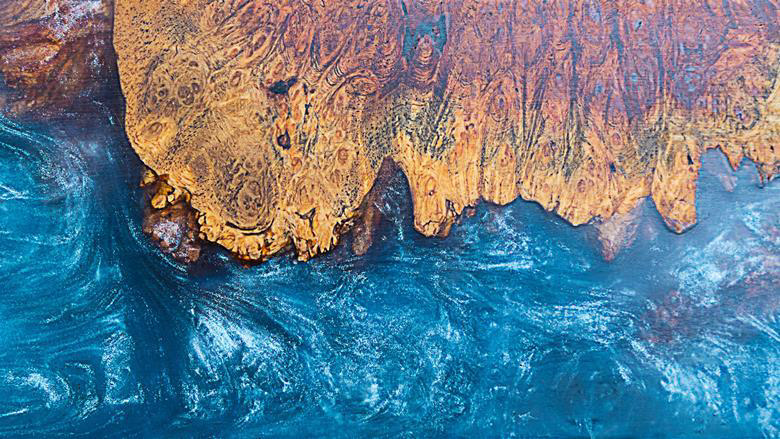
This week I worked on honing the aesthetic design concepts for my ocean awareness piece. With the intention of creating an elegant piece of furniture which draws attention both in beauty and message, I shifted focus from a lamp and more towards an epoxy resin table. My reasoning behind this shift is due to the nature of the epoxy table having the ability to more closely resemble a body of water, much like the ones we're trying to clean up and protect.
GOAL:
Design a beautiful piece of furniture that could be placed in a lobby, living room, or similar high-traffic space which aims to promote ocean-health awareness through captivating visual effects.
ECO-FRIENDLINESS OF MATERIALS:
Epoxy Resin is a petroleum-based product, much like oil & gas. In general, petroleum products and how their extraction processes aren't good for the environment. However, there are companies out there such as ArtResin who work hard to produce fully reactive epoxy resins which are more environmentally friendly. Other resins may contain fillers and/or diluents that are non-reactive and can off-gas into the atmosphere.
MATERIALS LIST:
Standard epoxy & resin (1 ga. each) $50 - $60 (Amazon)
ArtResin epoxy & resin (1 ga. each) $130 (Amazon)
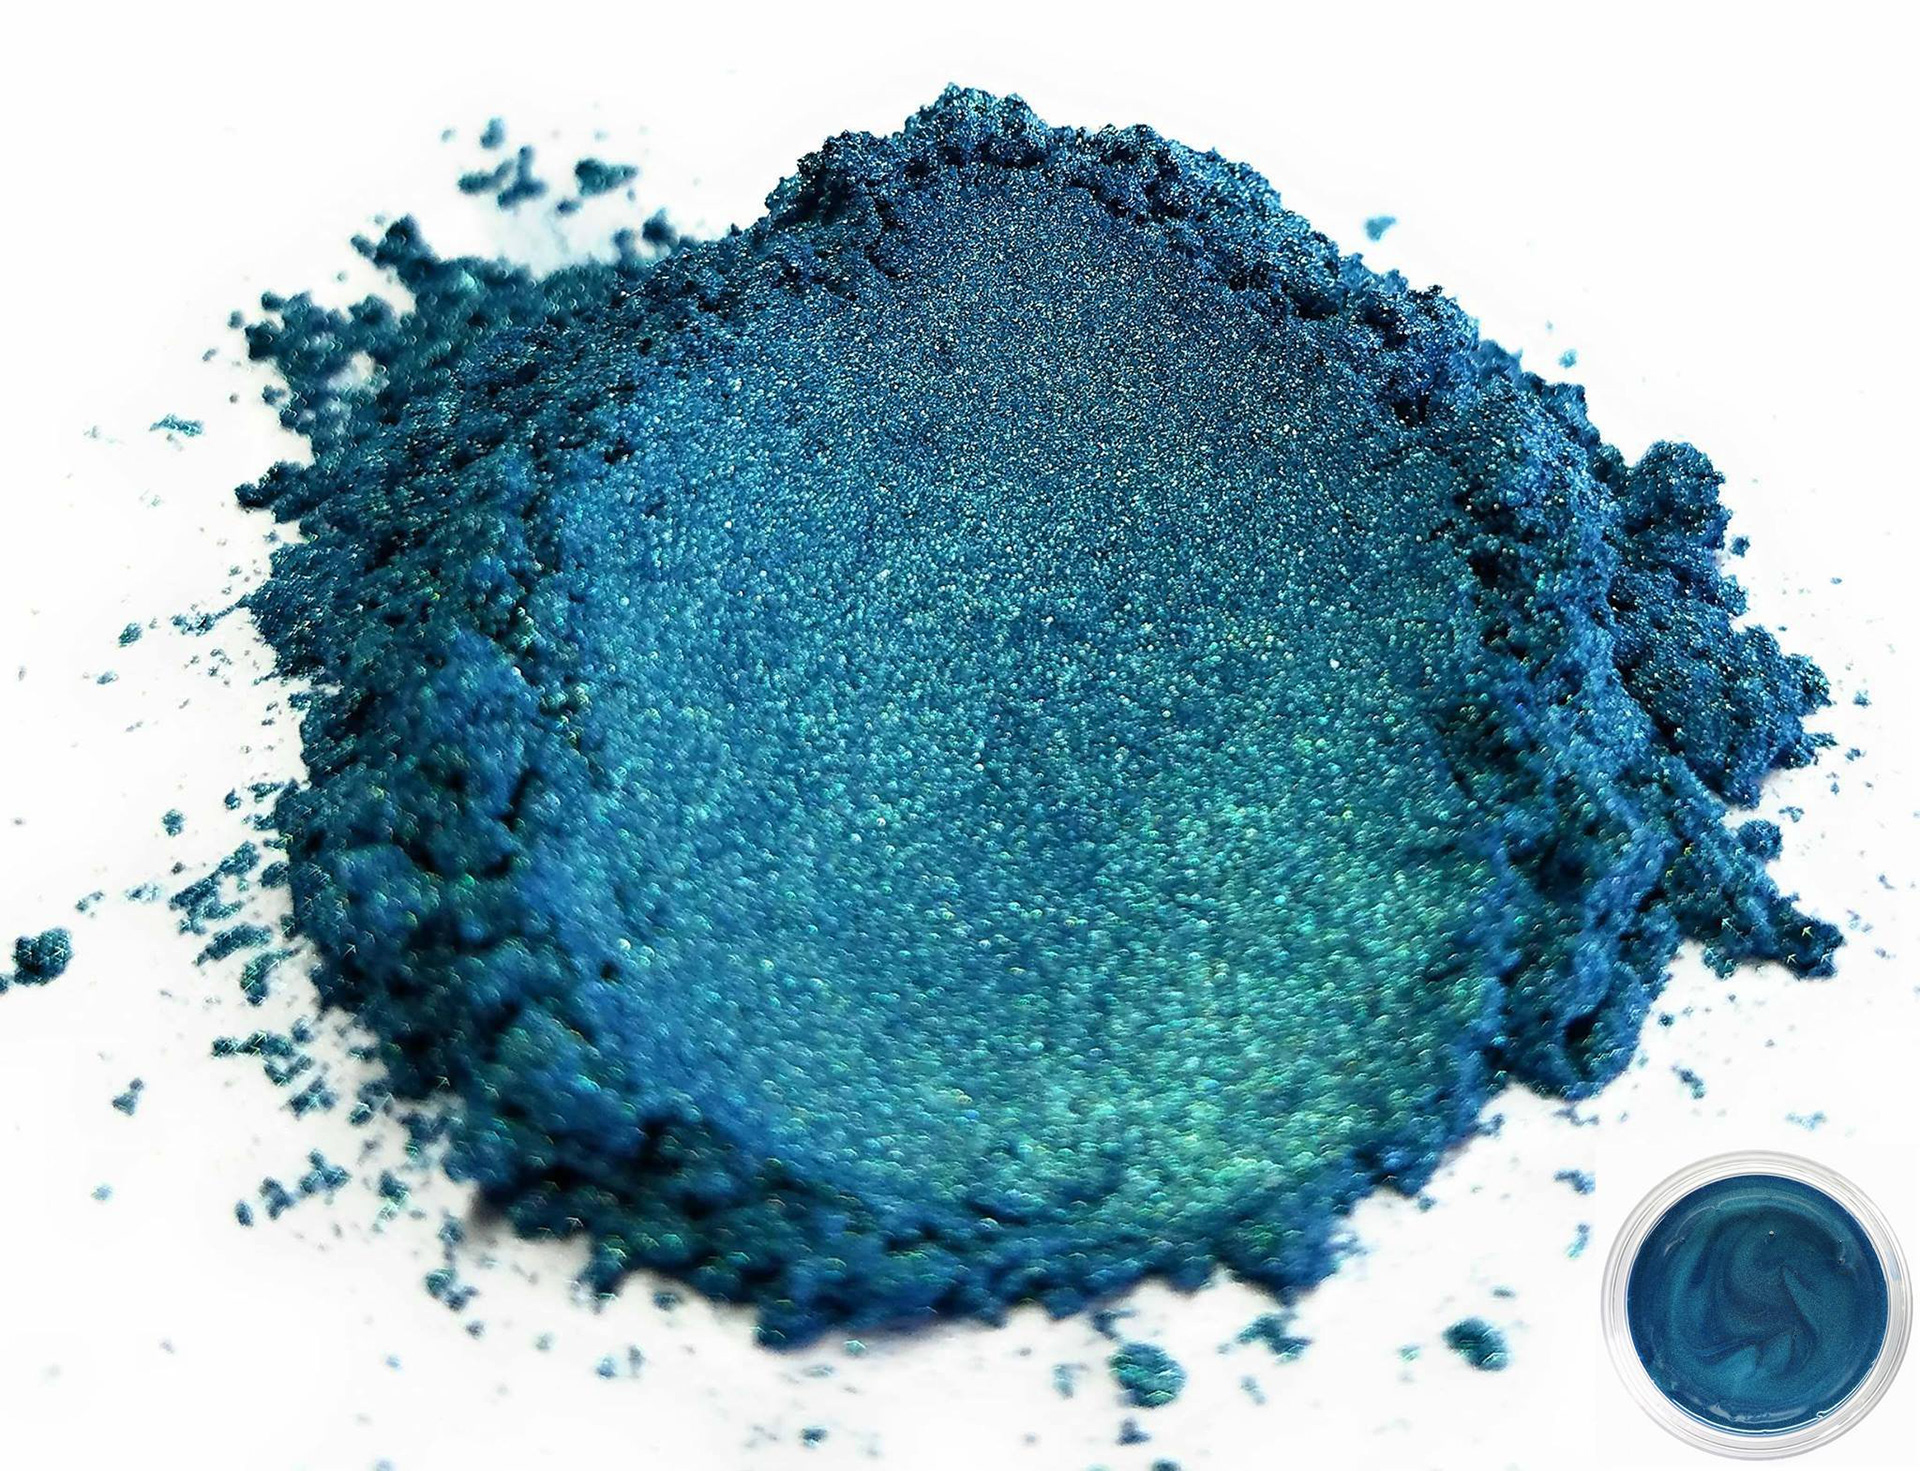
Pigment powder $15/color (Amazon)
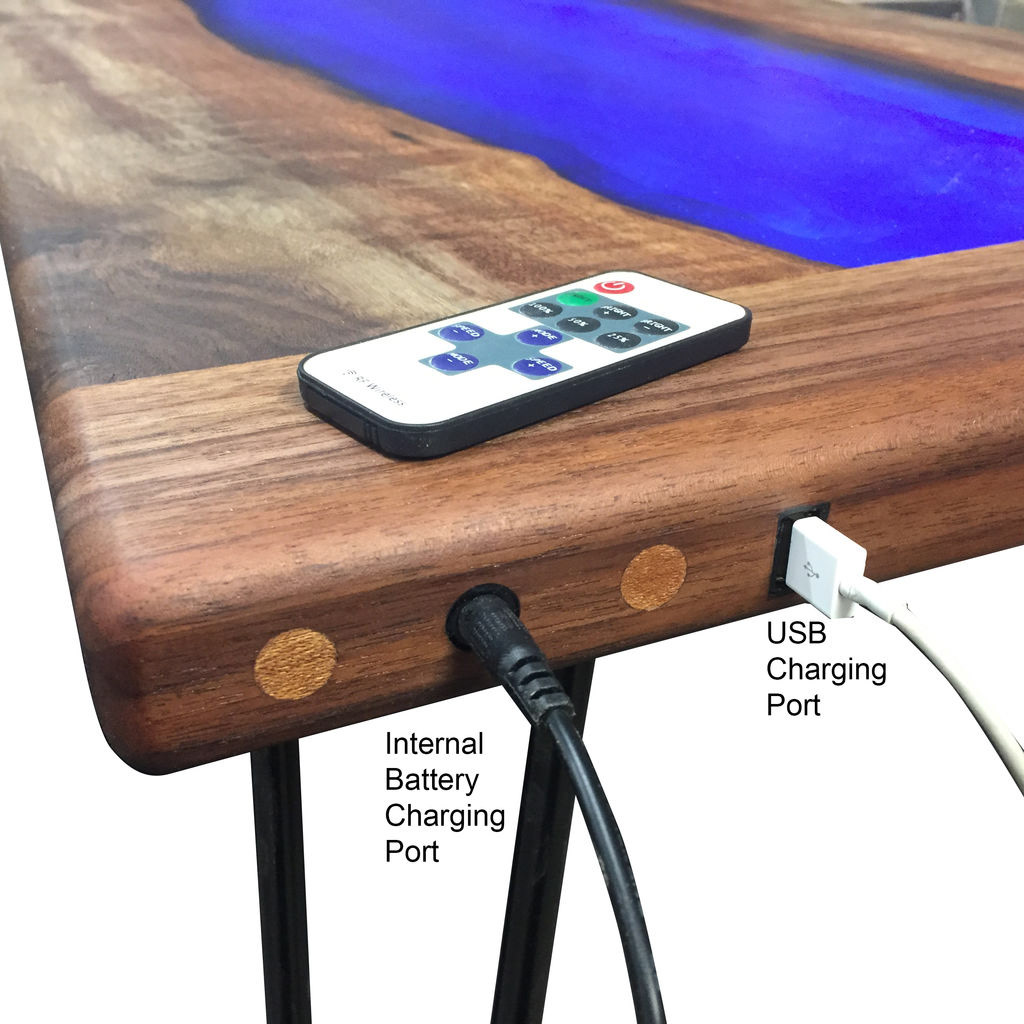
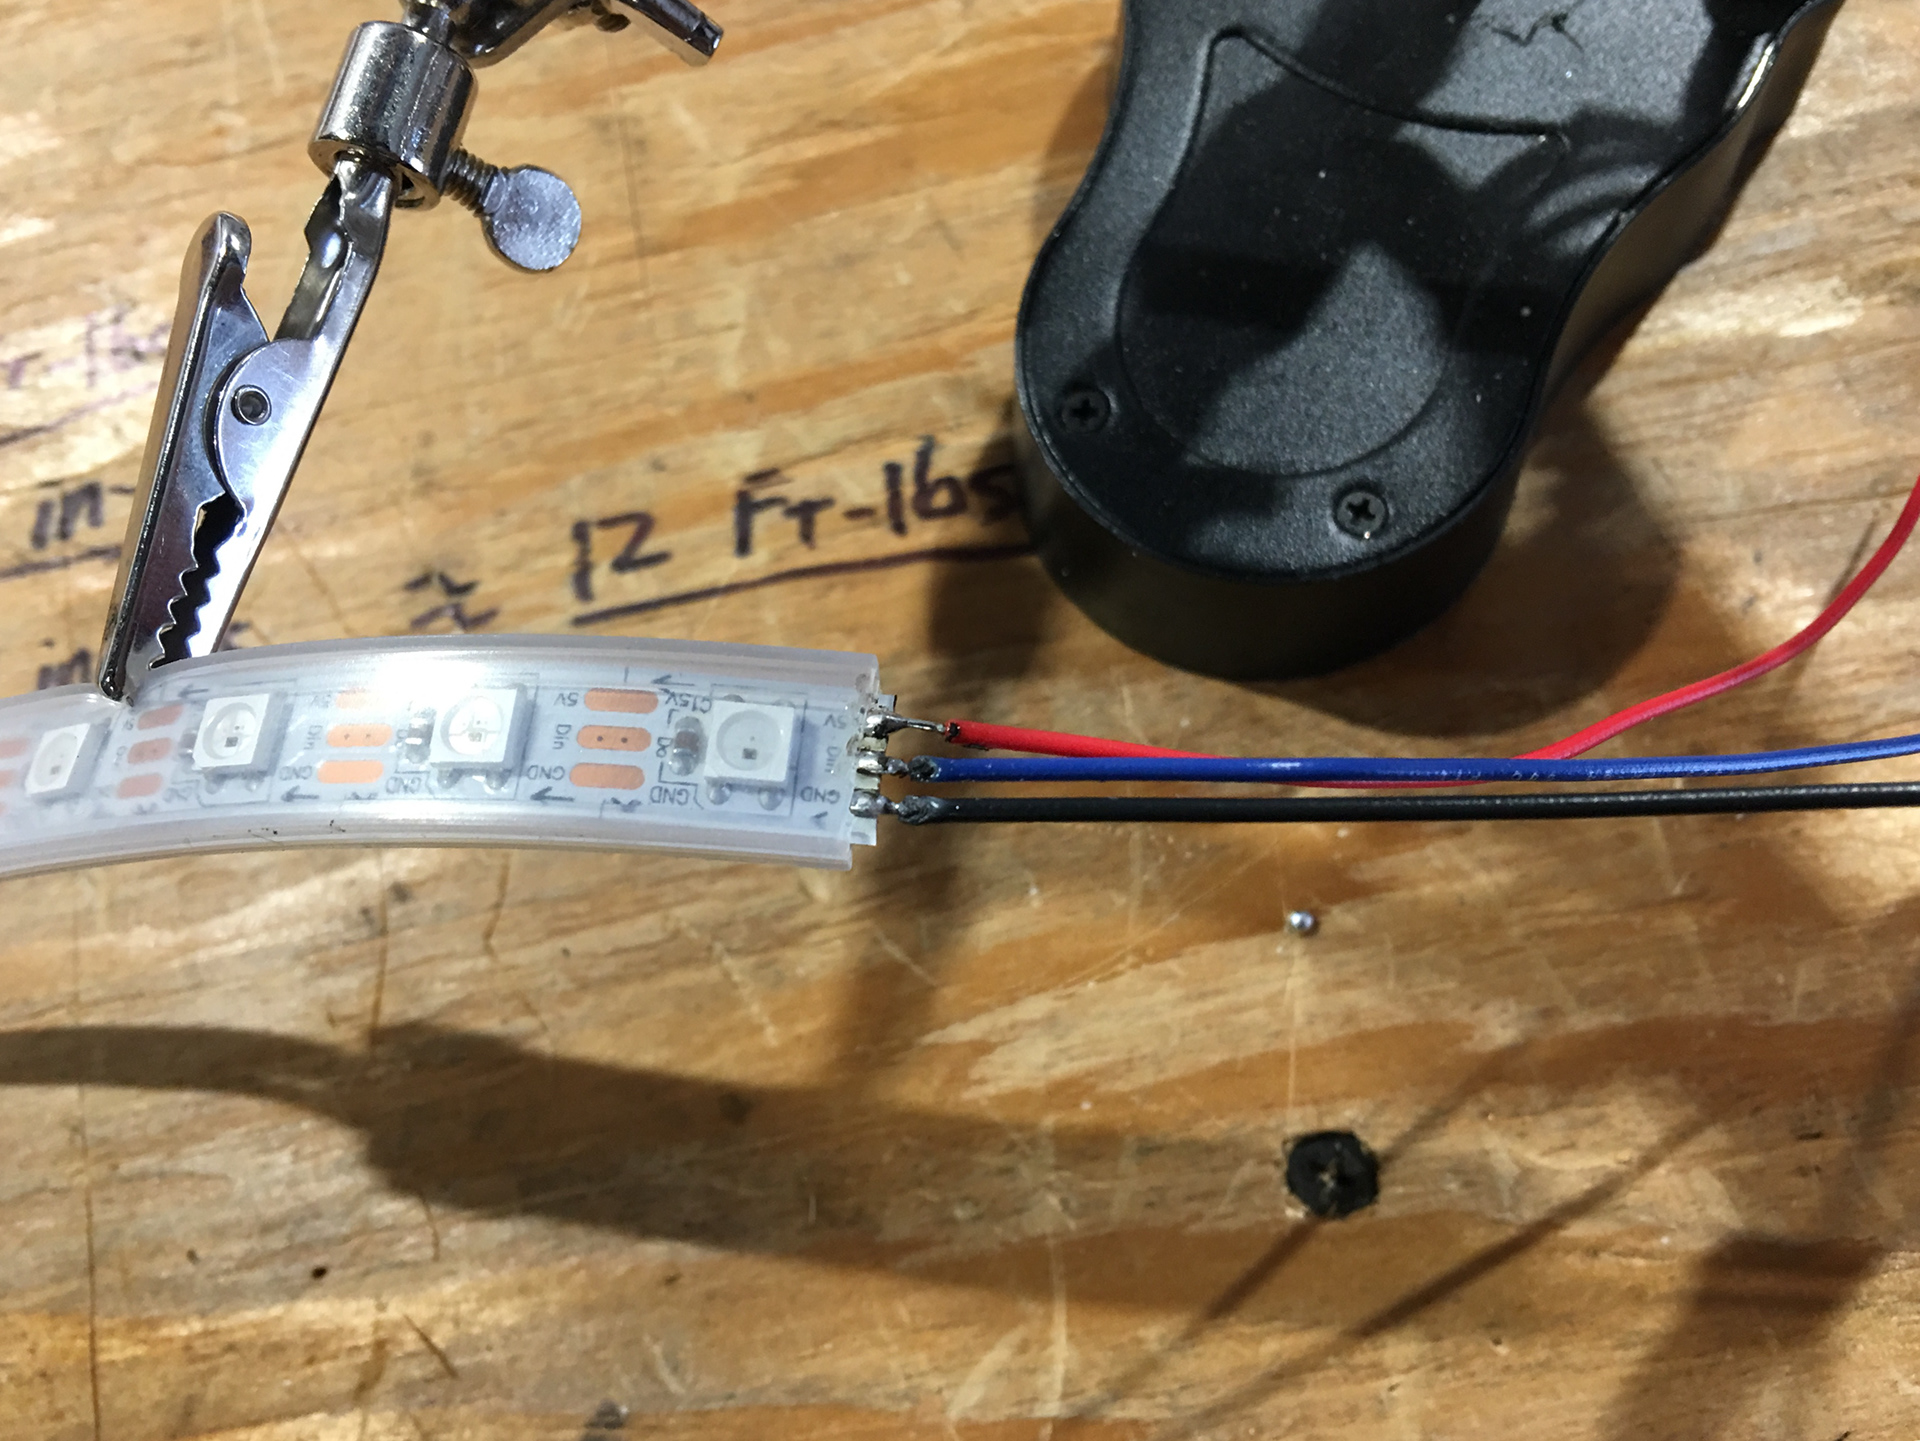
LED strip, 1m, addressable & sealed $25 (SparkFun)
Piece of hardwood $TBD (Boulder Board Room)
DESIGN IDEAS:
-Placing carefully curated pieces of plastic trash within the resin table which illuminate a different color (red) than the rest of the LEDs (white/blue).
-When a desired hashtag is detected, a piece of trash is illuminated with a red LED.
OBSTACLES:
-Obtaining a proper piece of hardwood if taken that direction. It looks quite costly, but I intend to pay a visit to Boulder Board Room and see if they can work with me on a solution.
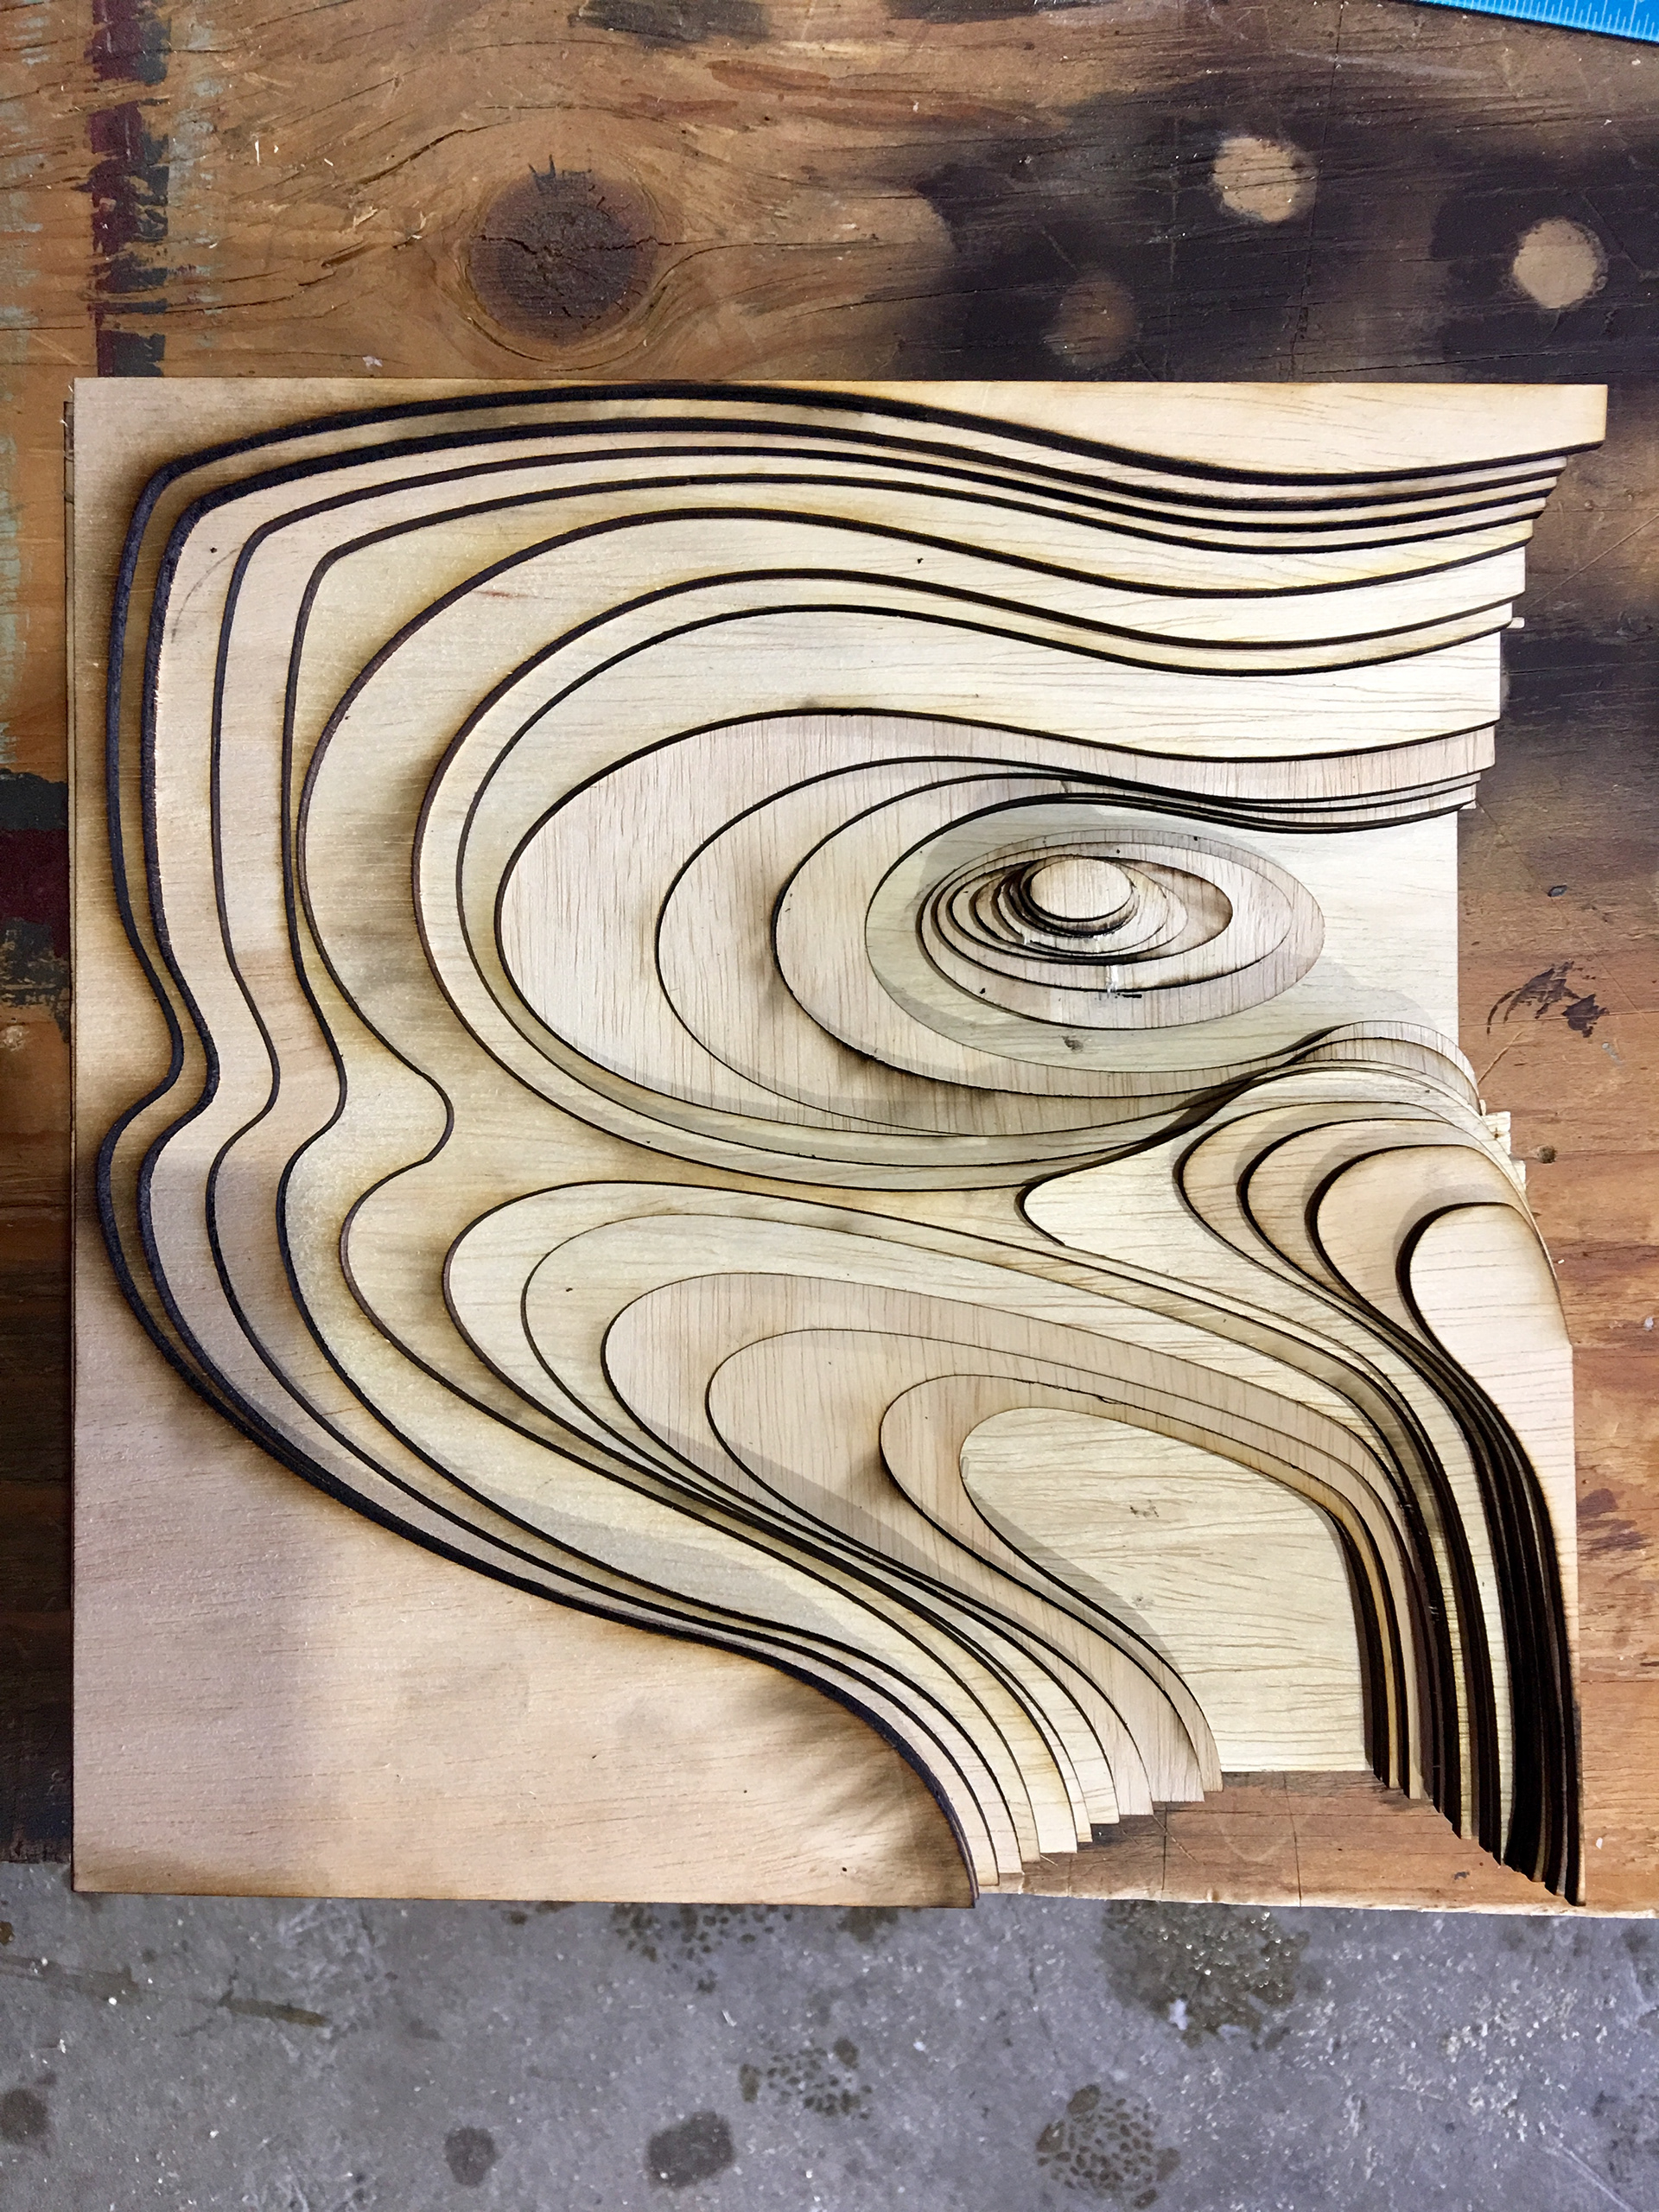
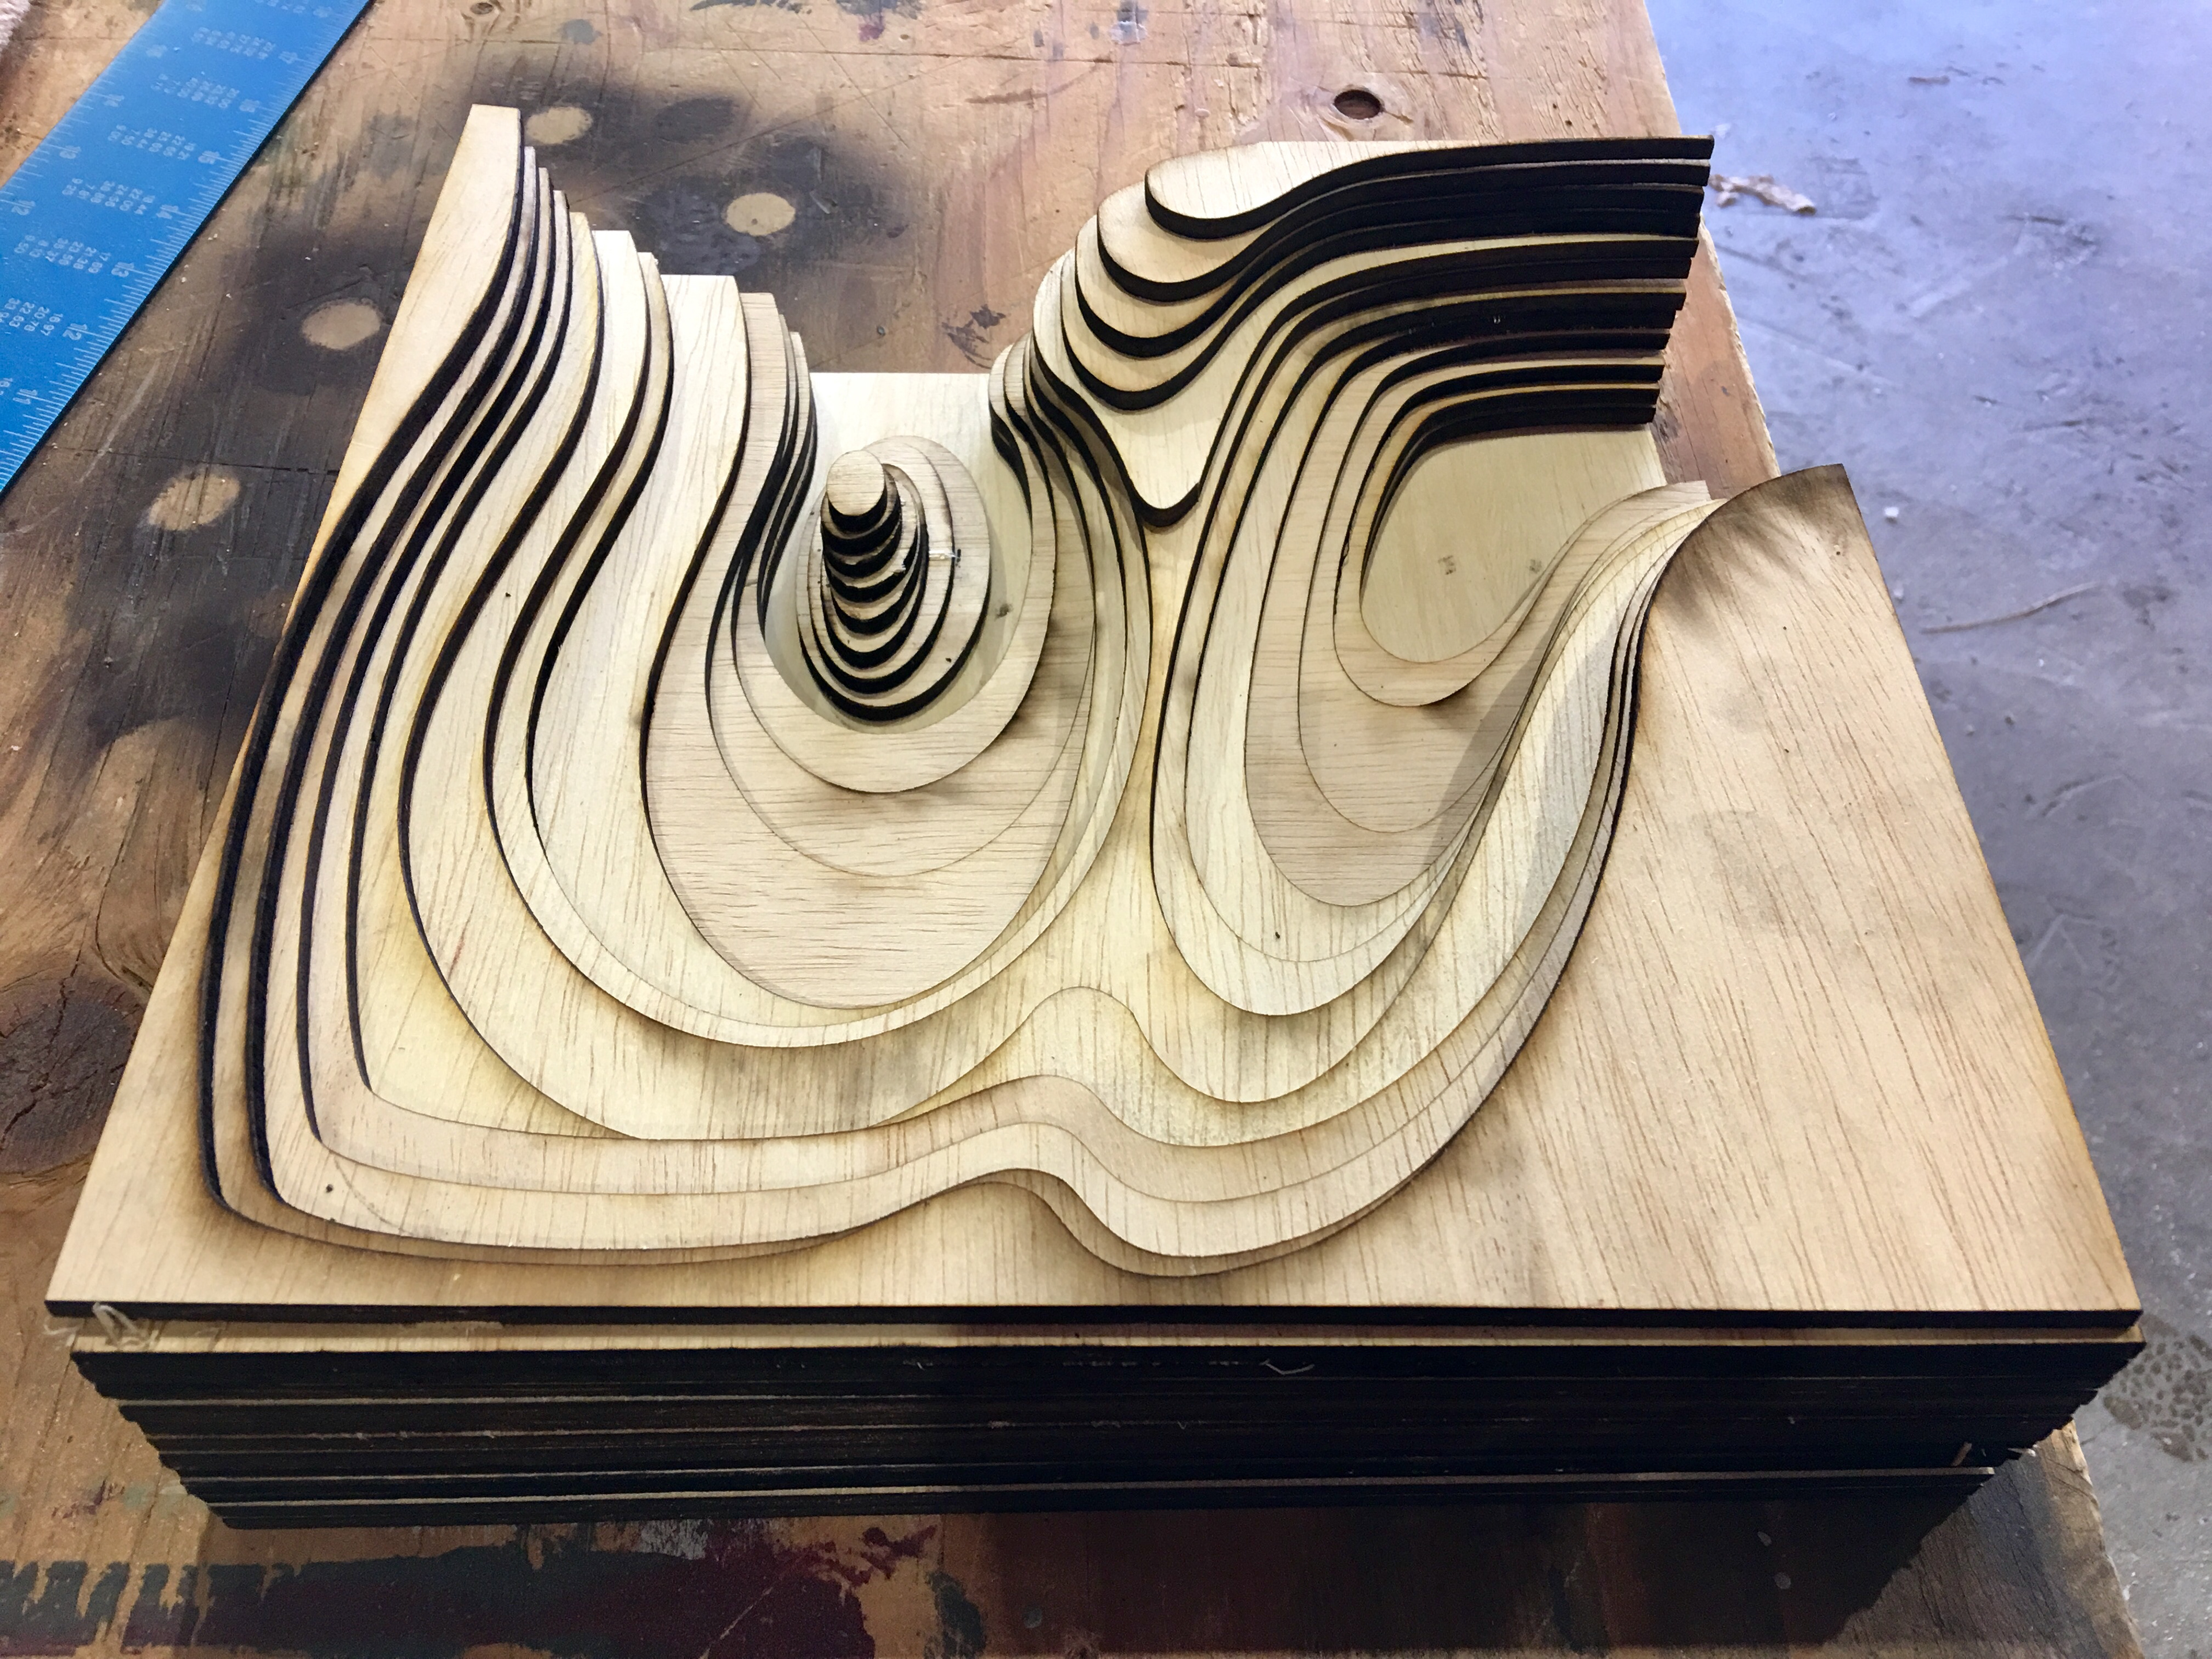
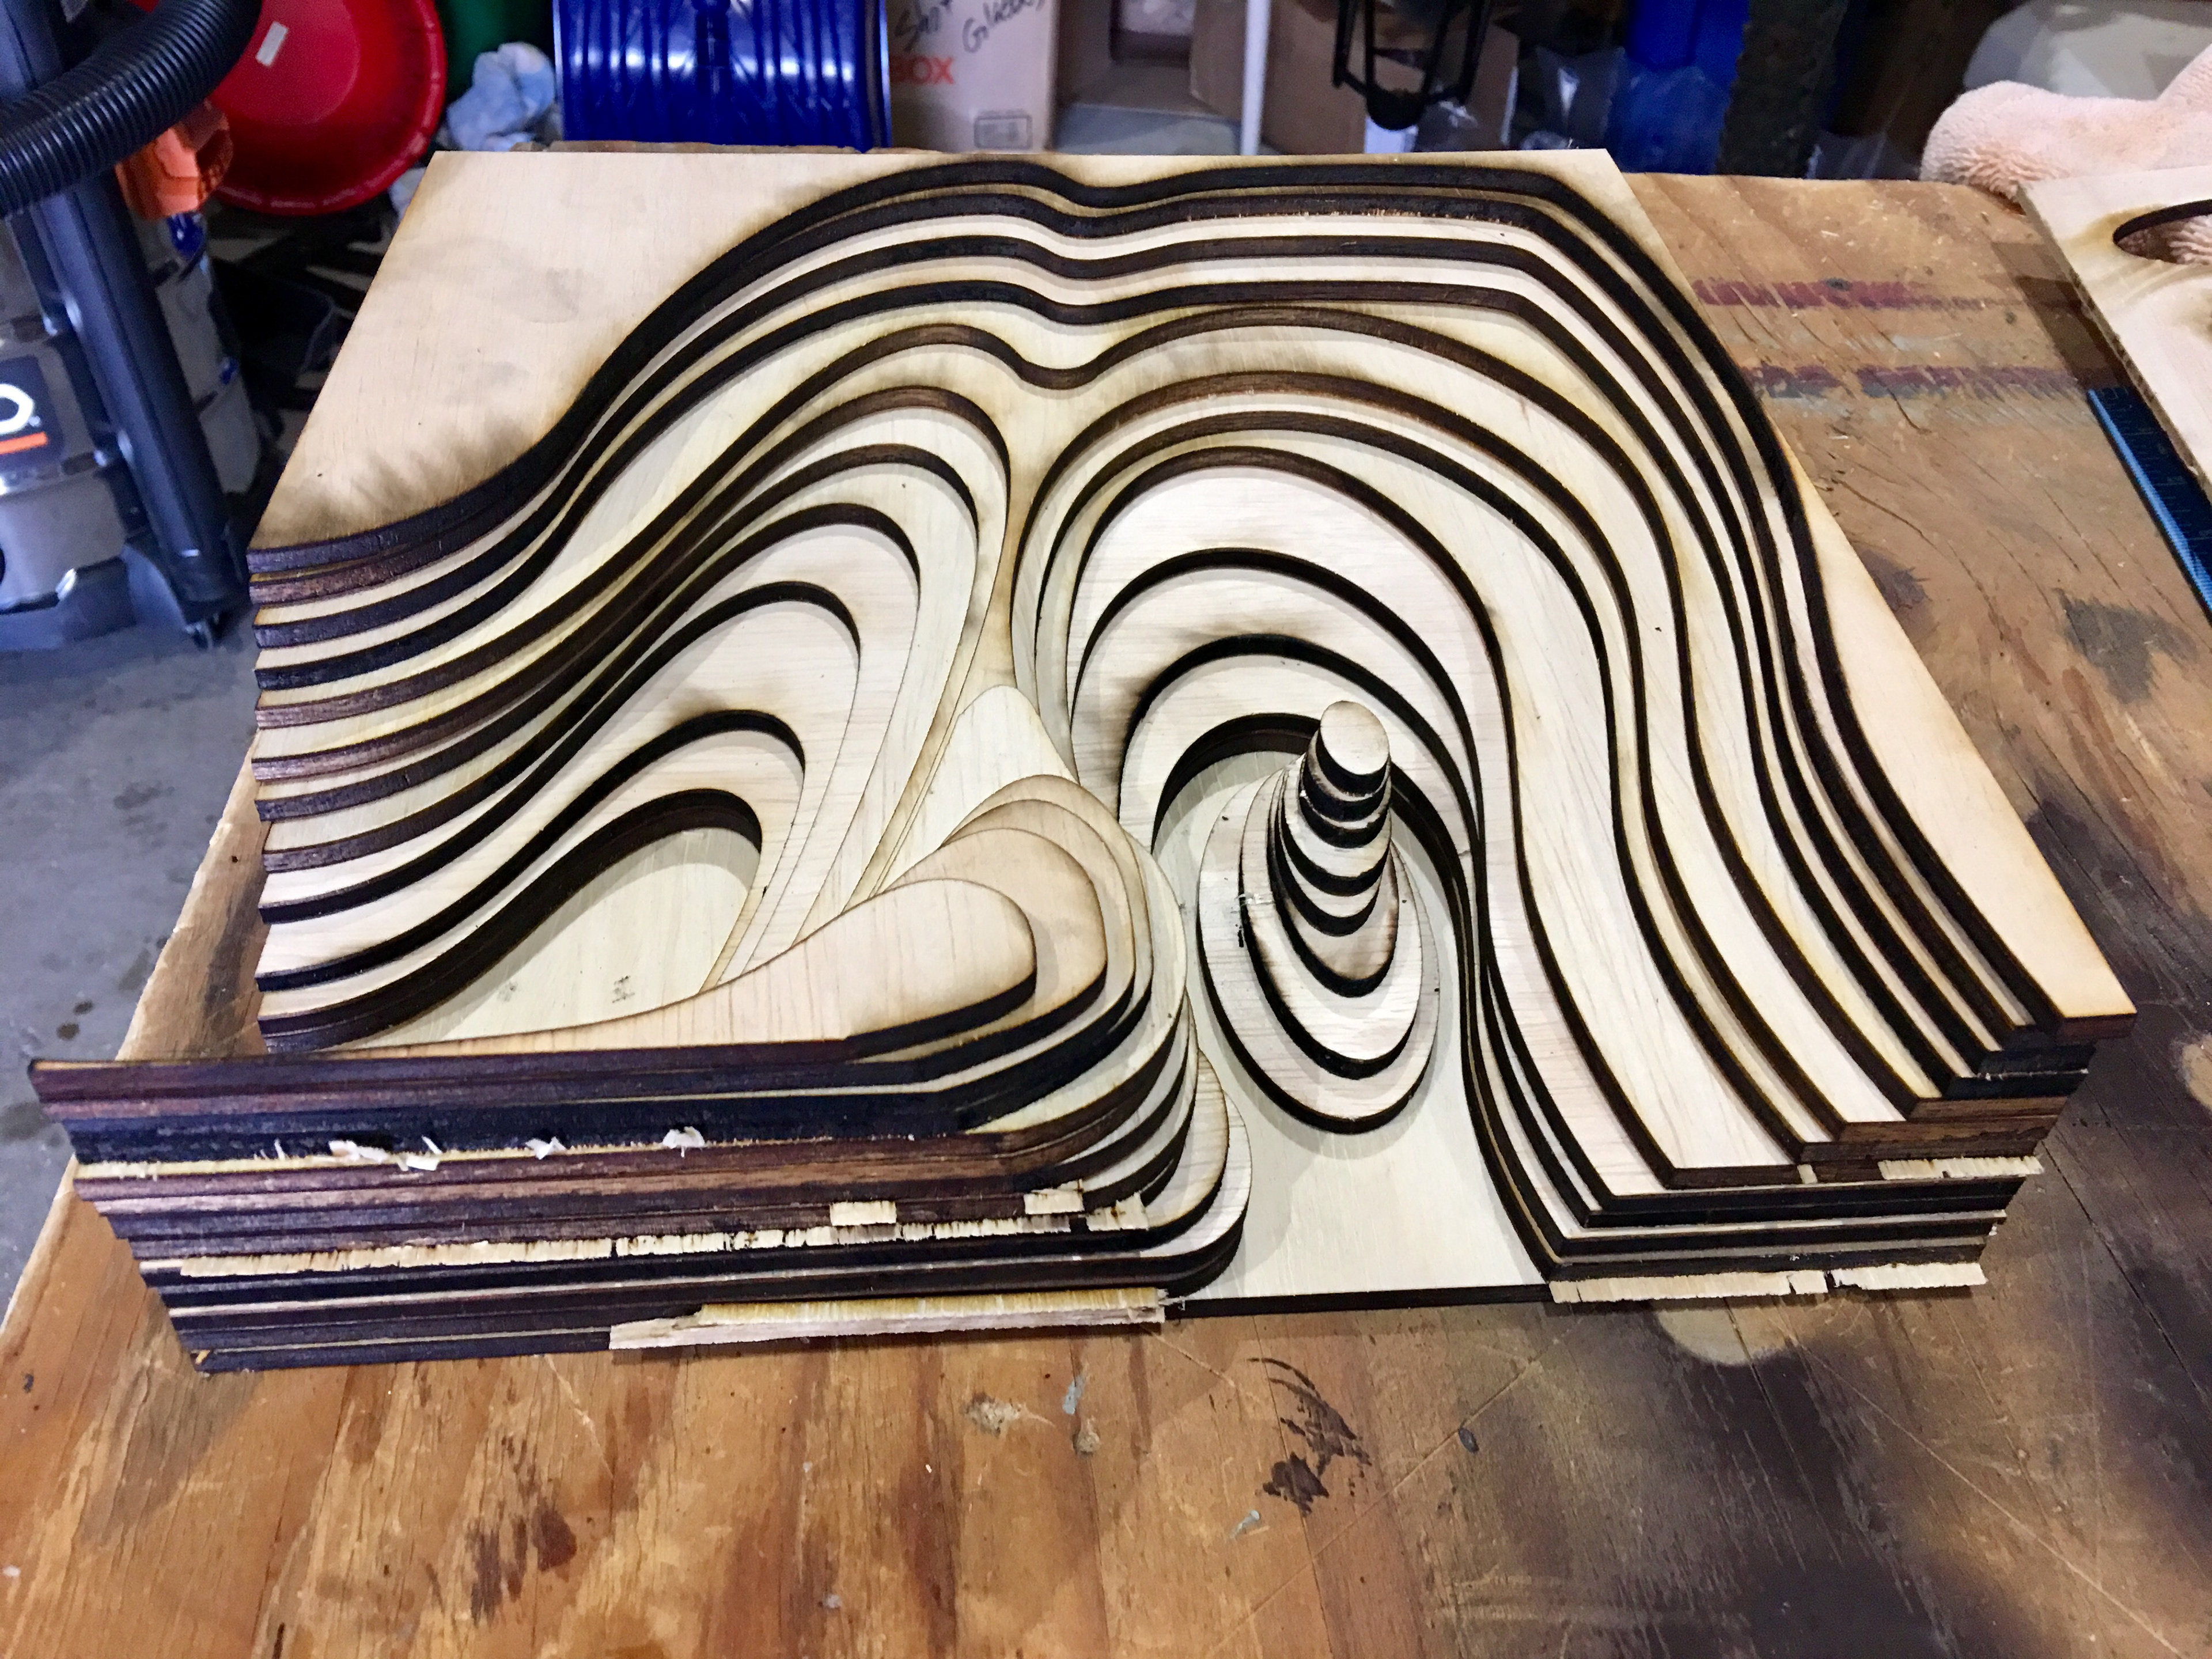
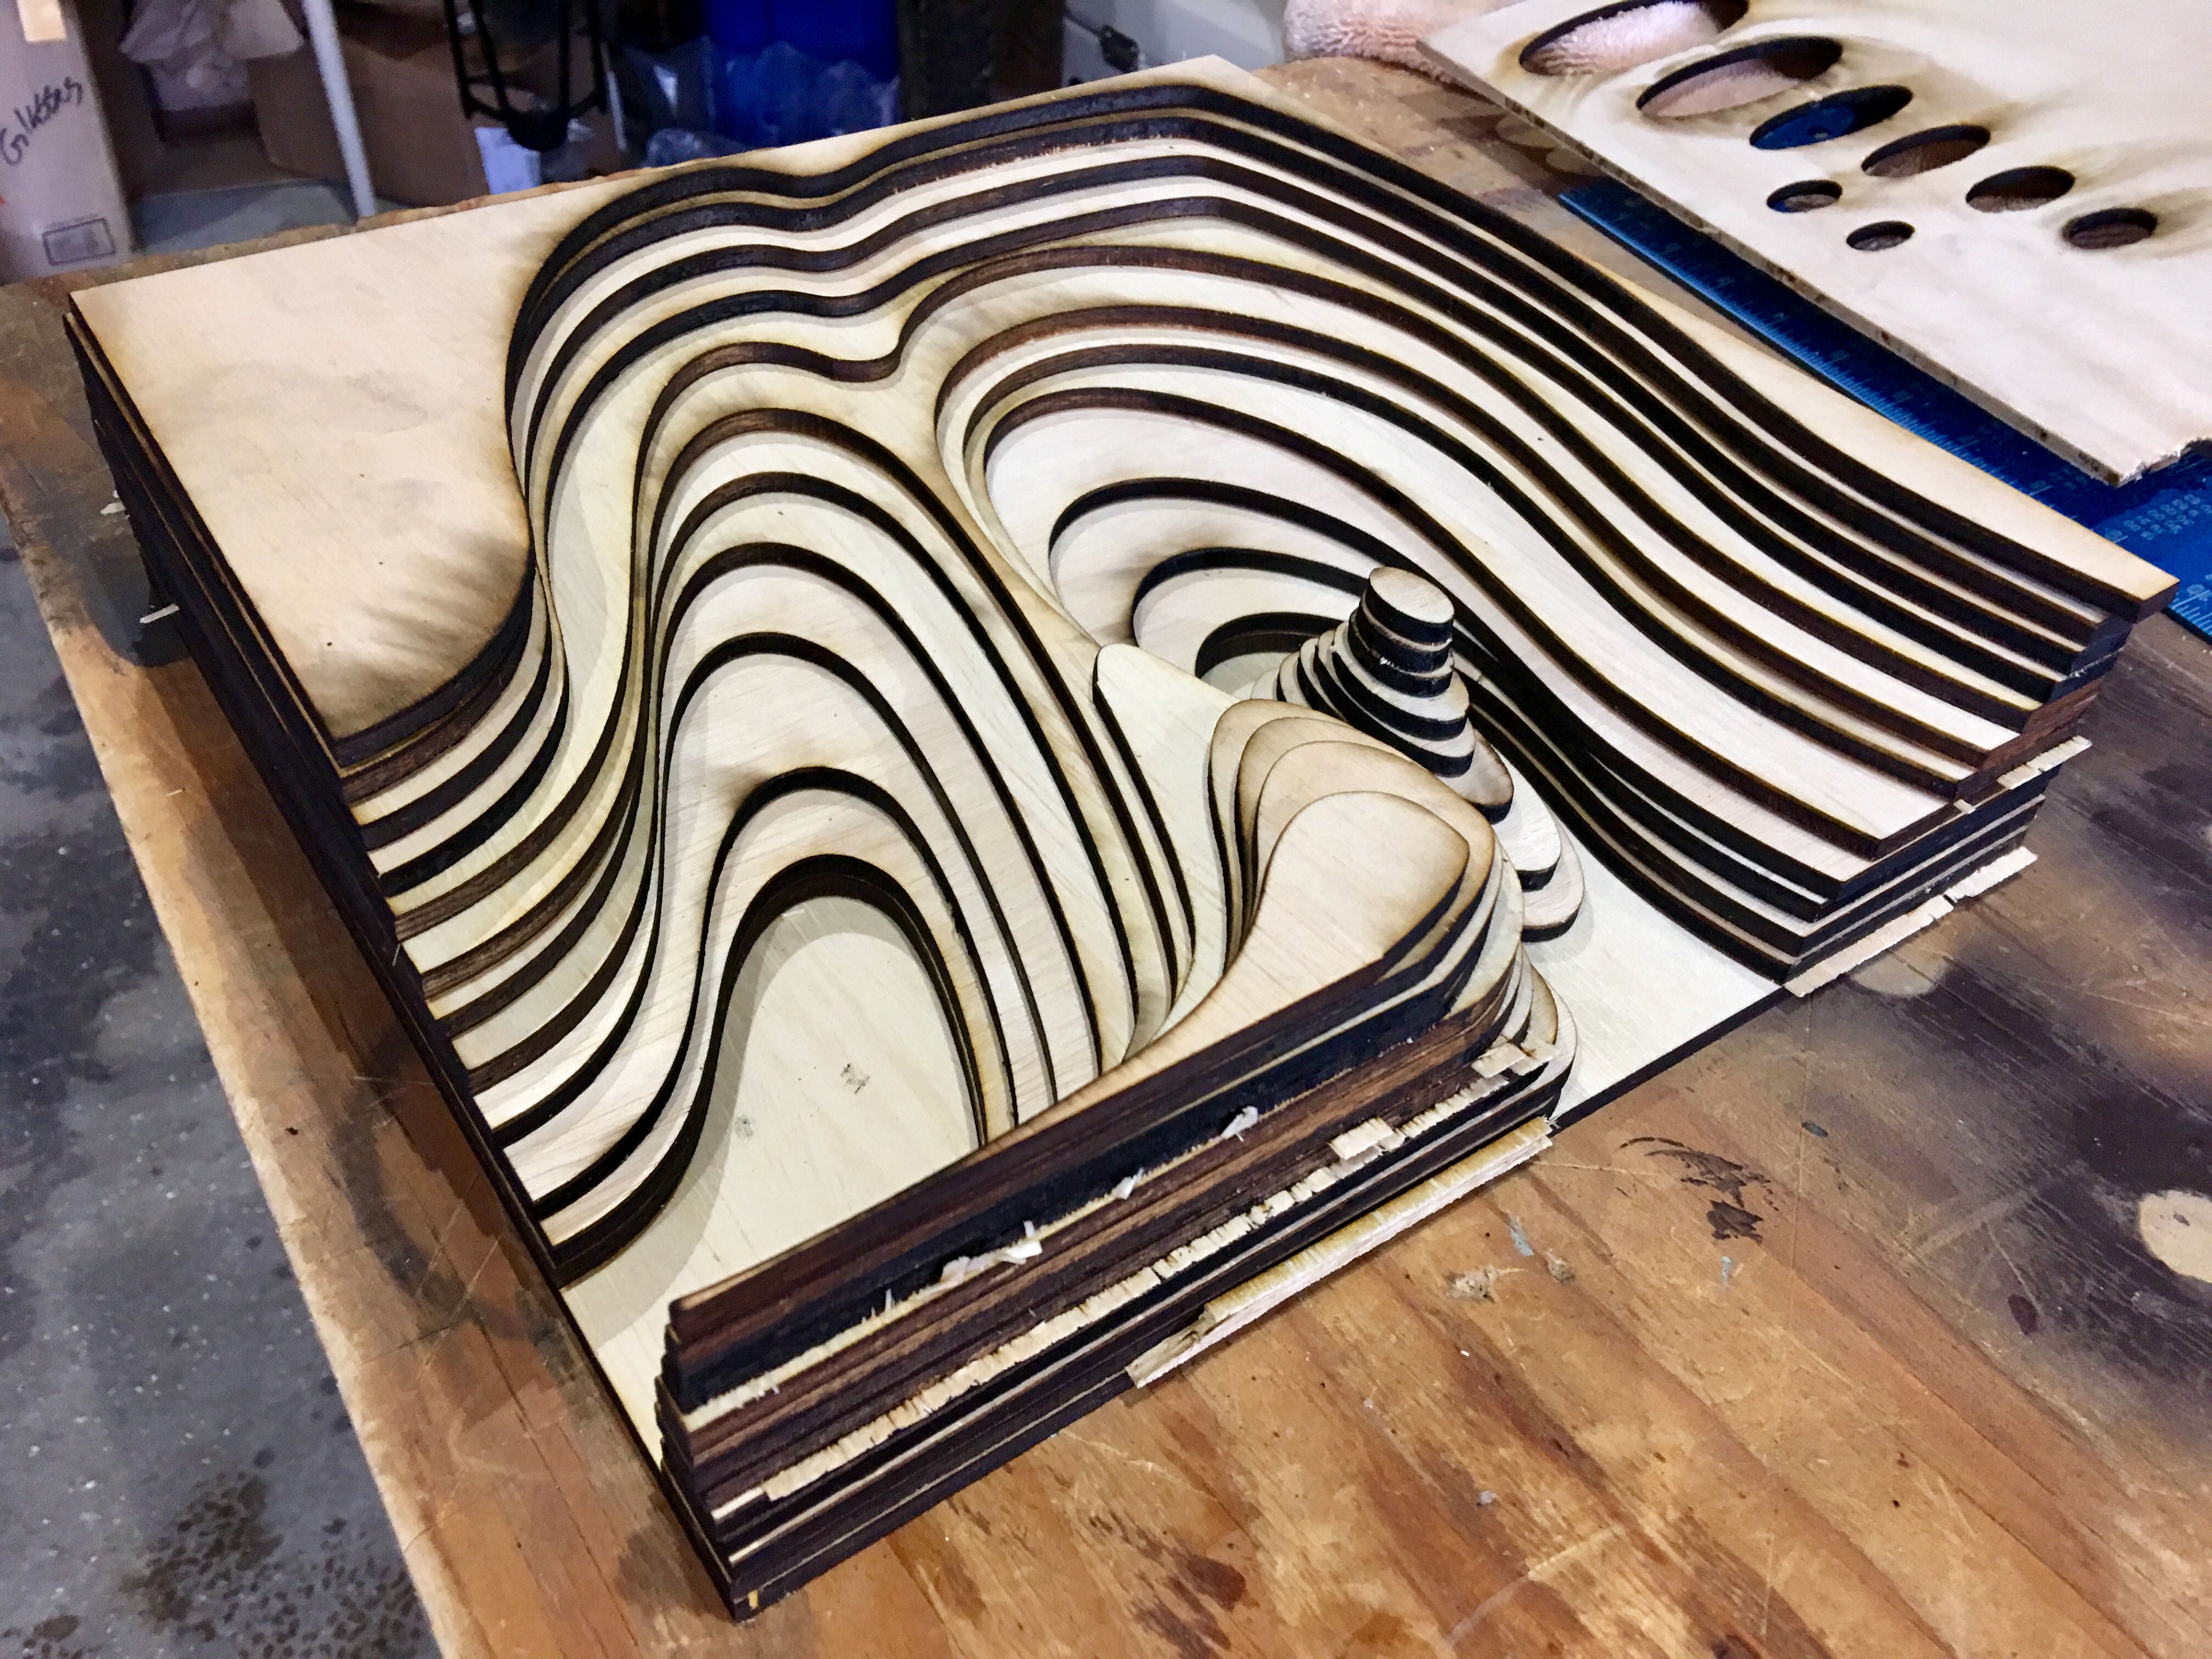
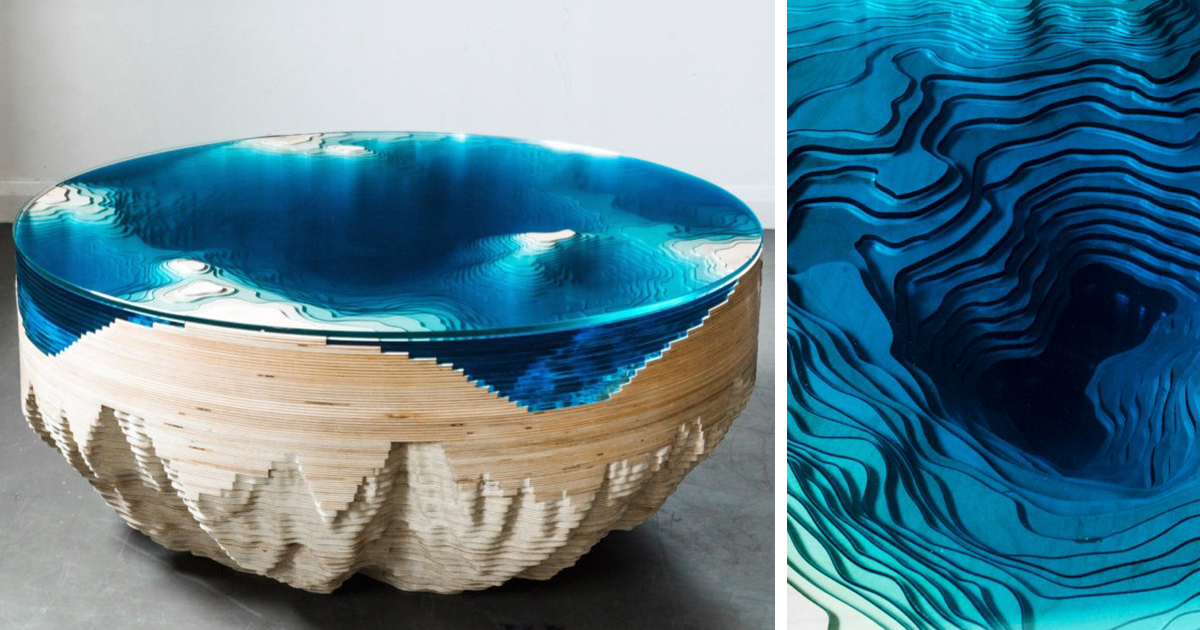
-Laser cutting topo maps if taken that direction. Will need to consult with someone familiar with GIS laser cutting techniques.
Sketches


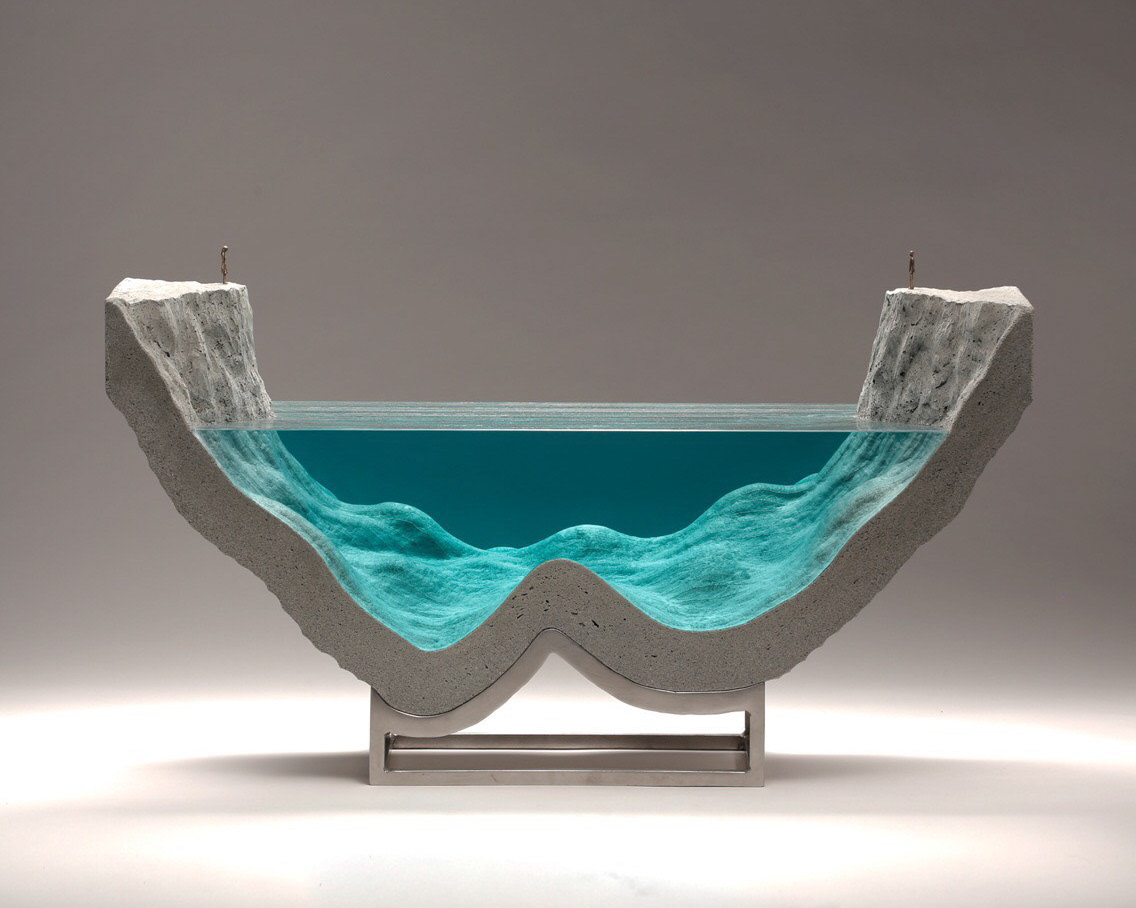
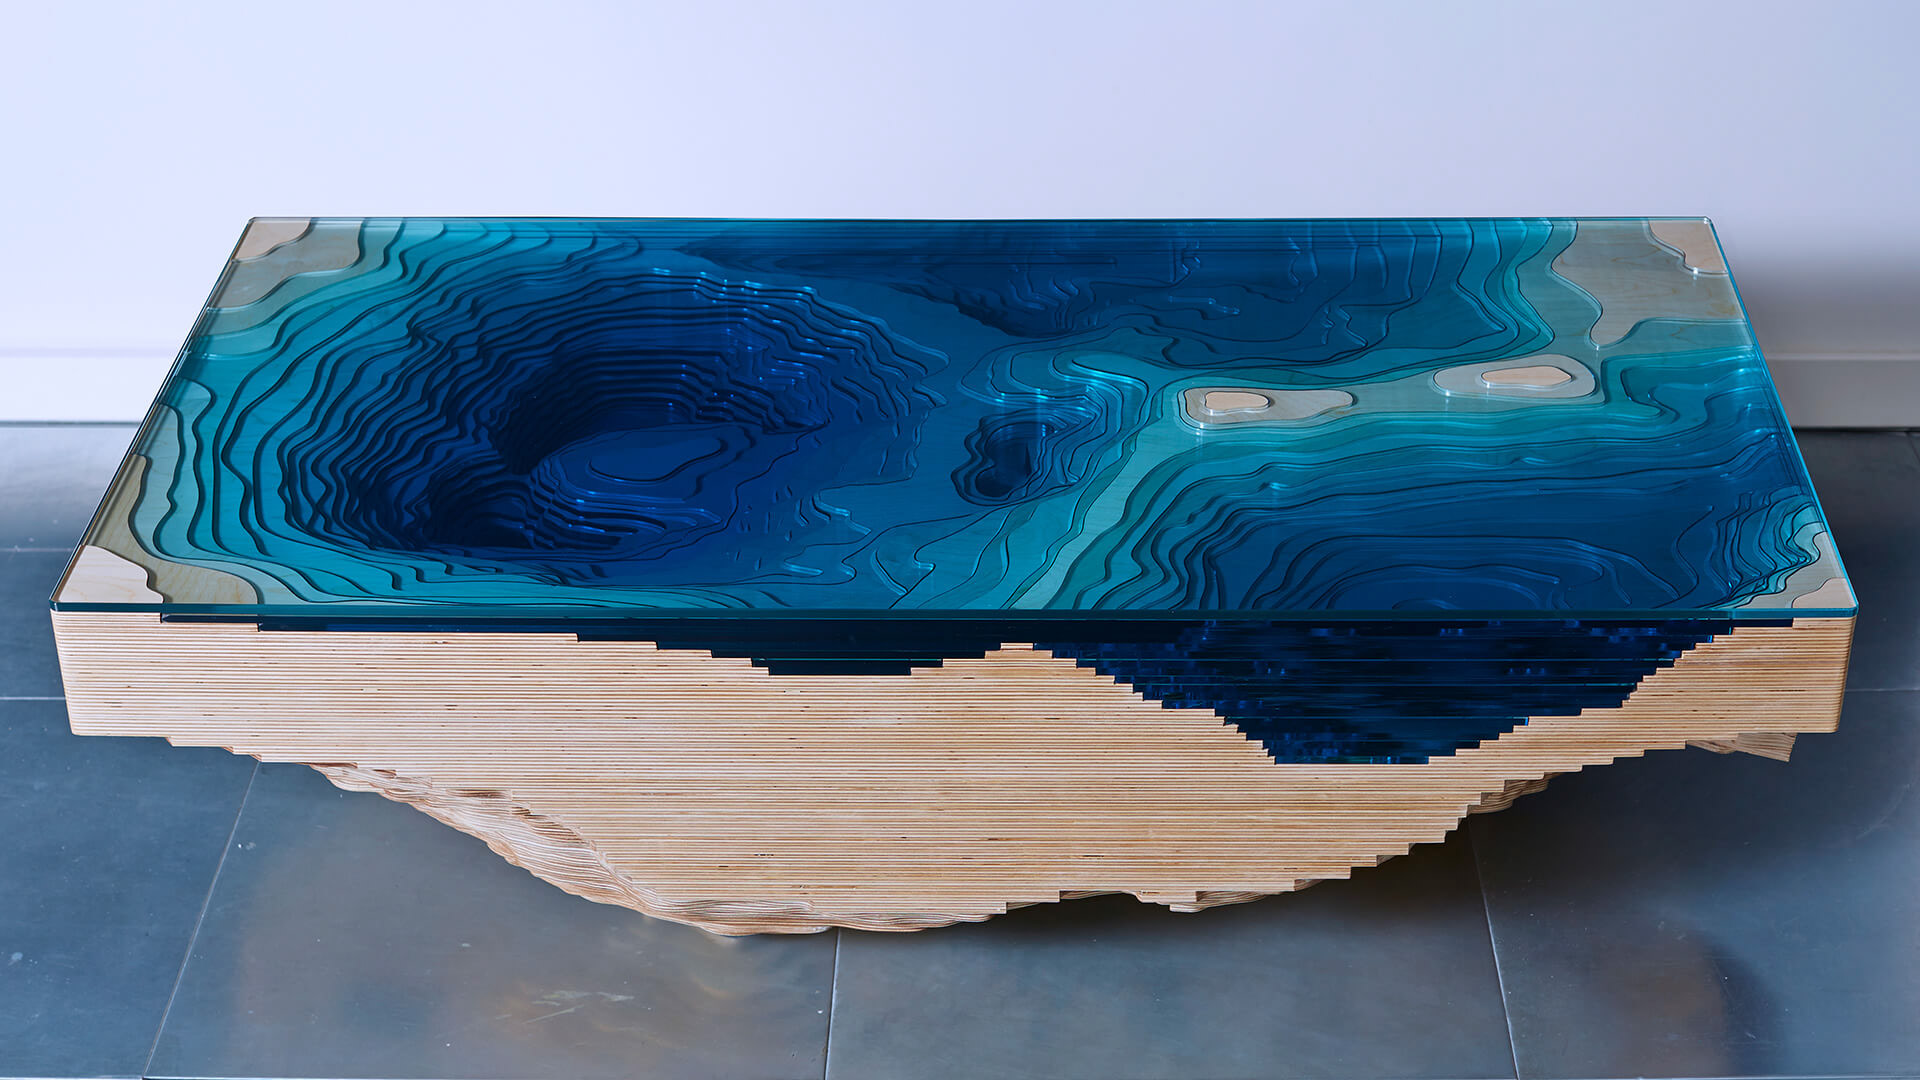
Mood board / Inspiration

Week 2:
-Connect with Paul
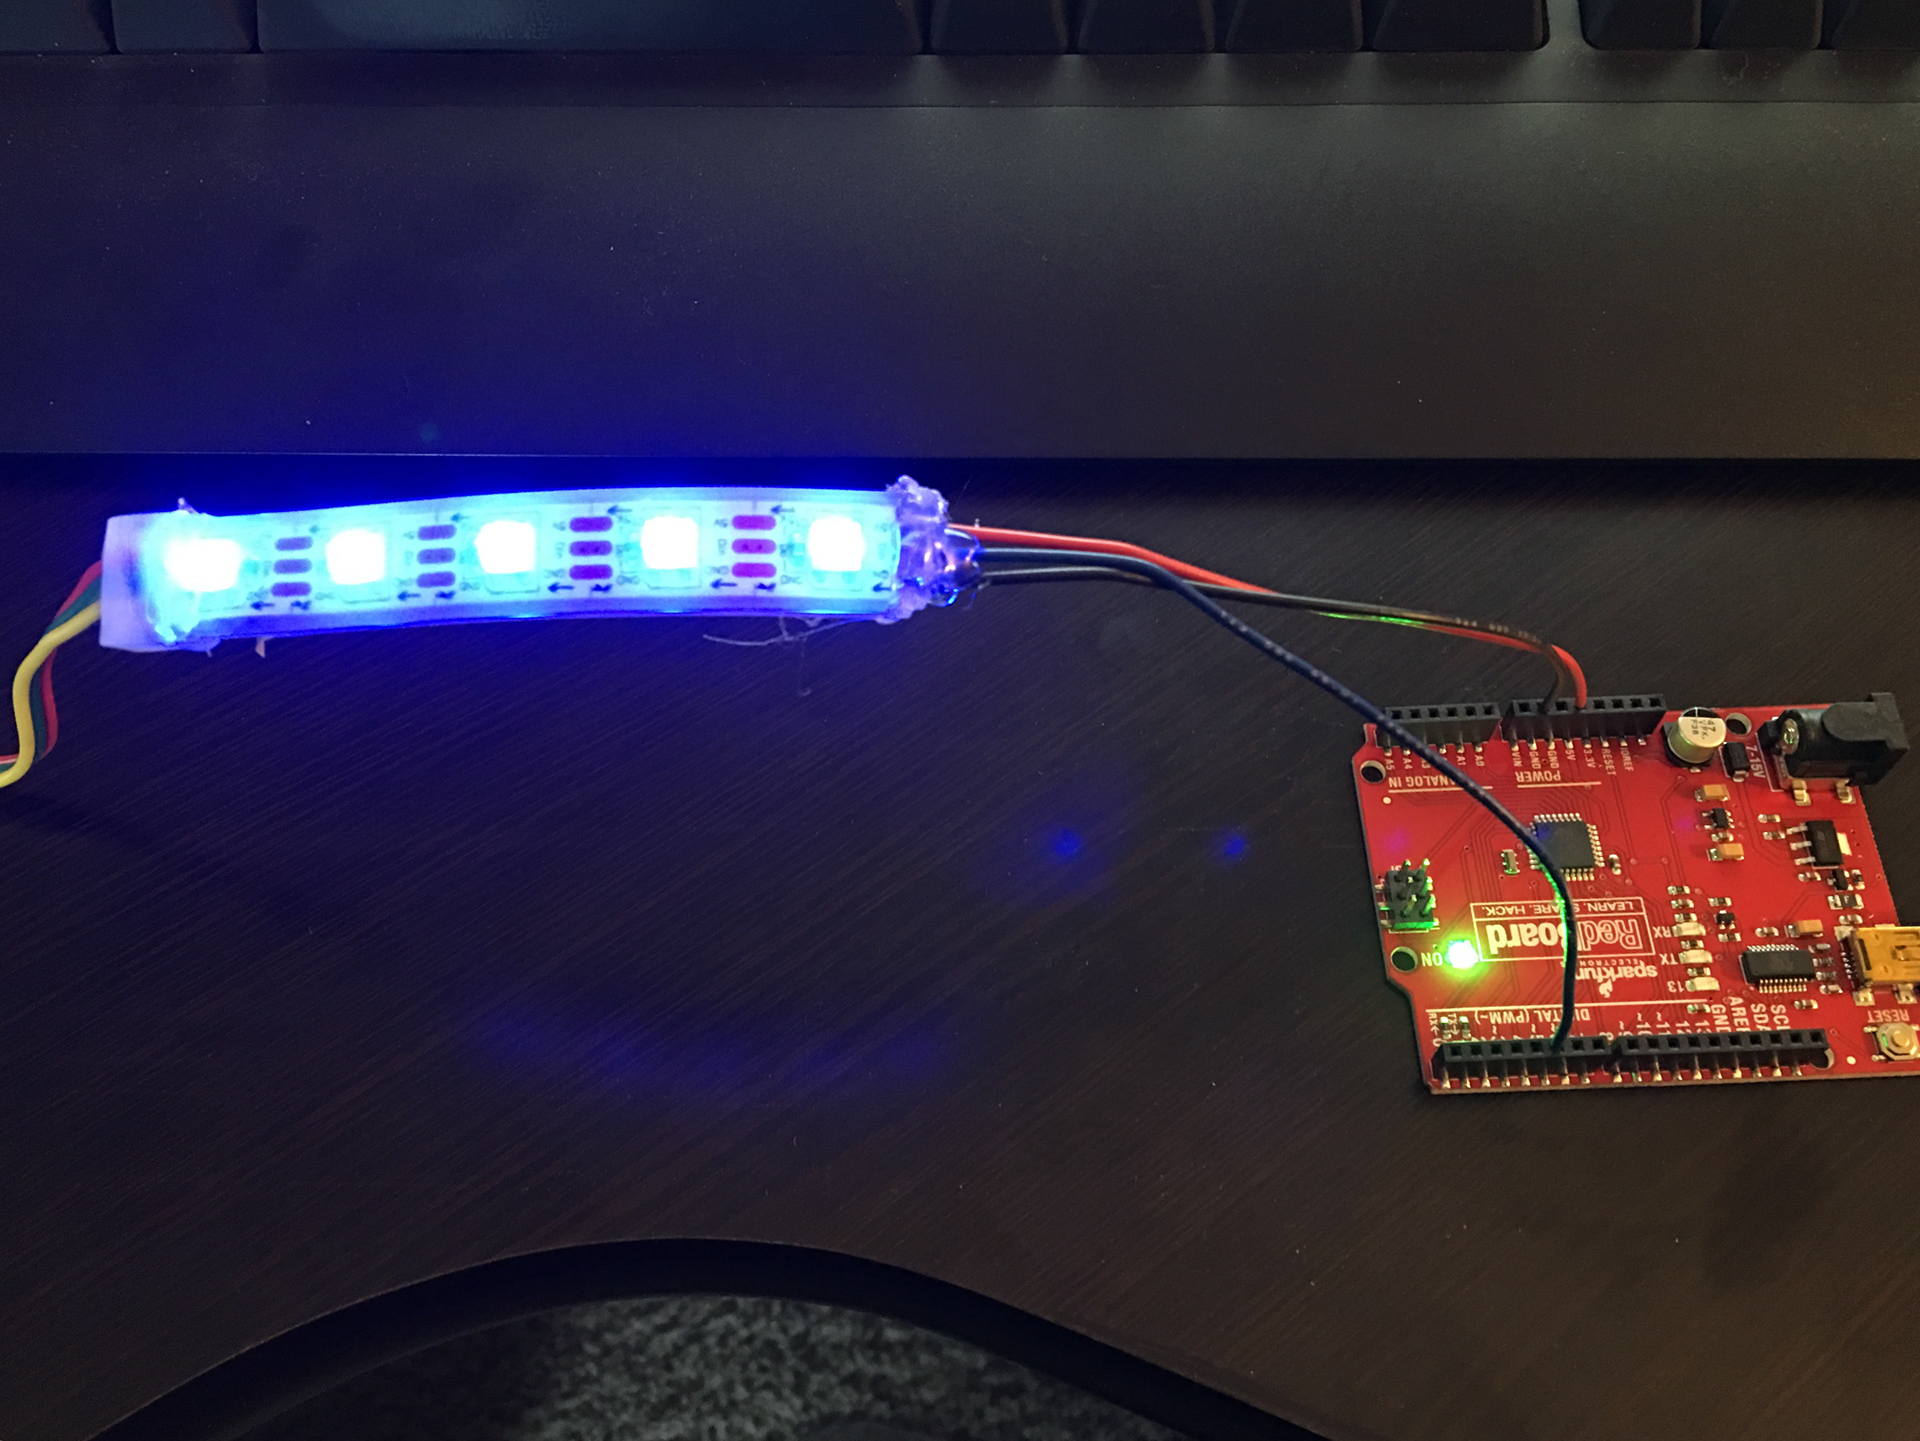
-Make small prototype, verify components can be embedded into resin
-Bring in examples of pieces (trash/shells) to be placed within table
-Pricing matrix for wood options (laser cutting or live-wood)
I linked up with Paul Friday morning and he wasn't able to load what he intended on the computer so we swapped contact info for him to get back to me. He did, however, confirm some of the resources I found available online such as QGIS and ArcGIS software to use for mapping. I asked him about ways to optimize cutting space on the wood via layout techniques, but without having the software opening on his computer he wasn't able to give me much guidance at the time. Updates will be posted once I reconnect with Paul.
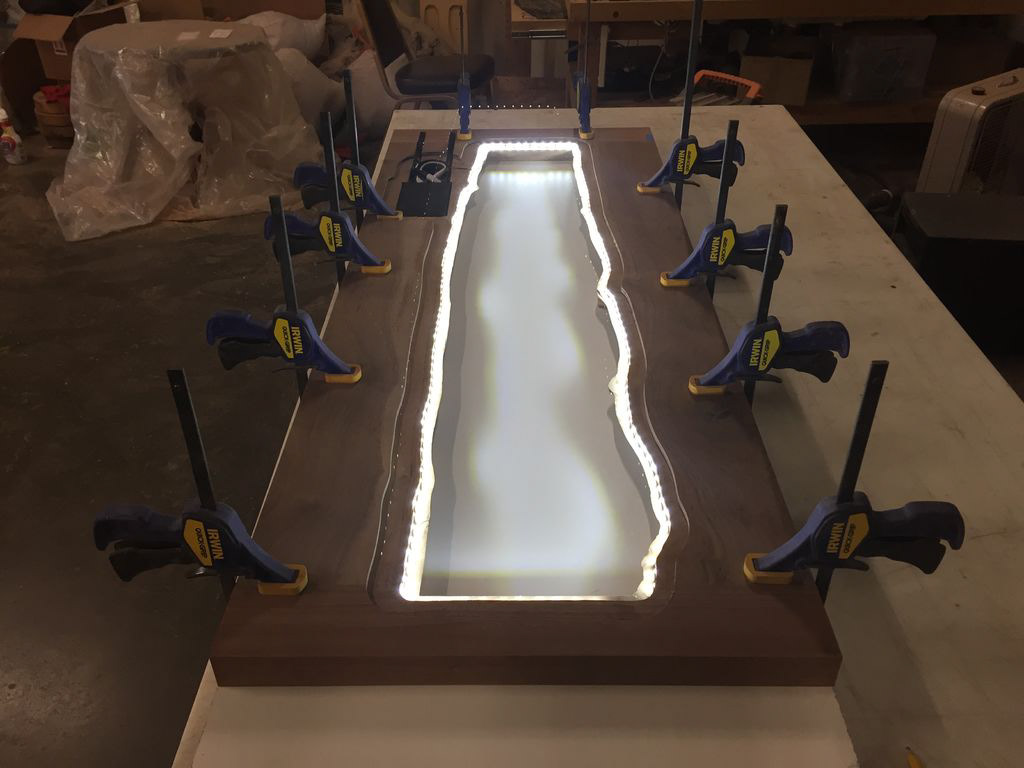
The epoxy resin and many other supplies have began showing up on the doorstep (thanks Amazon!) so I'm ready to pour a small sample into a silicone mold once I cut & solder a small portion of the LED strip and make ready for the prototype.
Friday morning I paid a visit to the folks at the Boulder Board Room to see size & pricing options for live hardwood options. Nancy was the only person in the shop at the time, but she was incredibly helpful. She was able to show me a number of affordable options (not thousands of dollars) across 7-8 different types of wood. They will even cut the pieces to spec for me right there in the shop which is convenient. Saturday morning I returned to purchase the piece of Russian Olive, and good thing I did because someone else was already eyeing it.


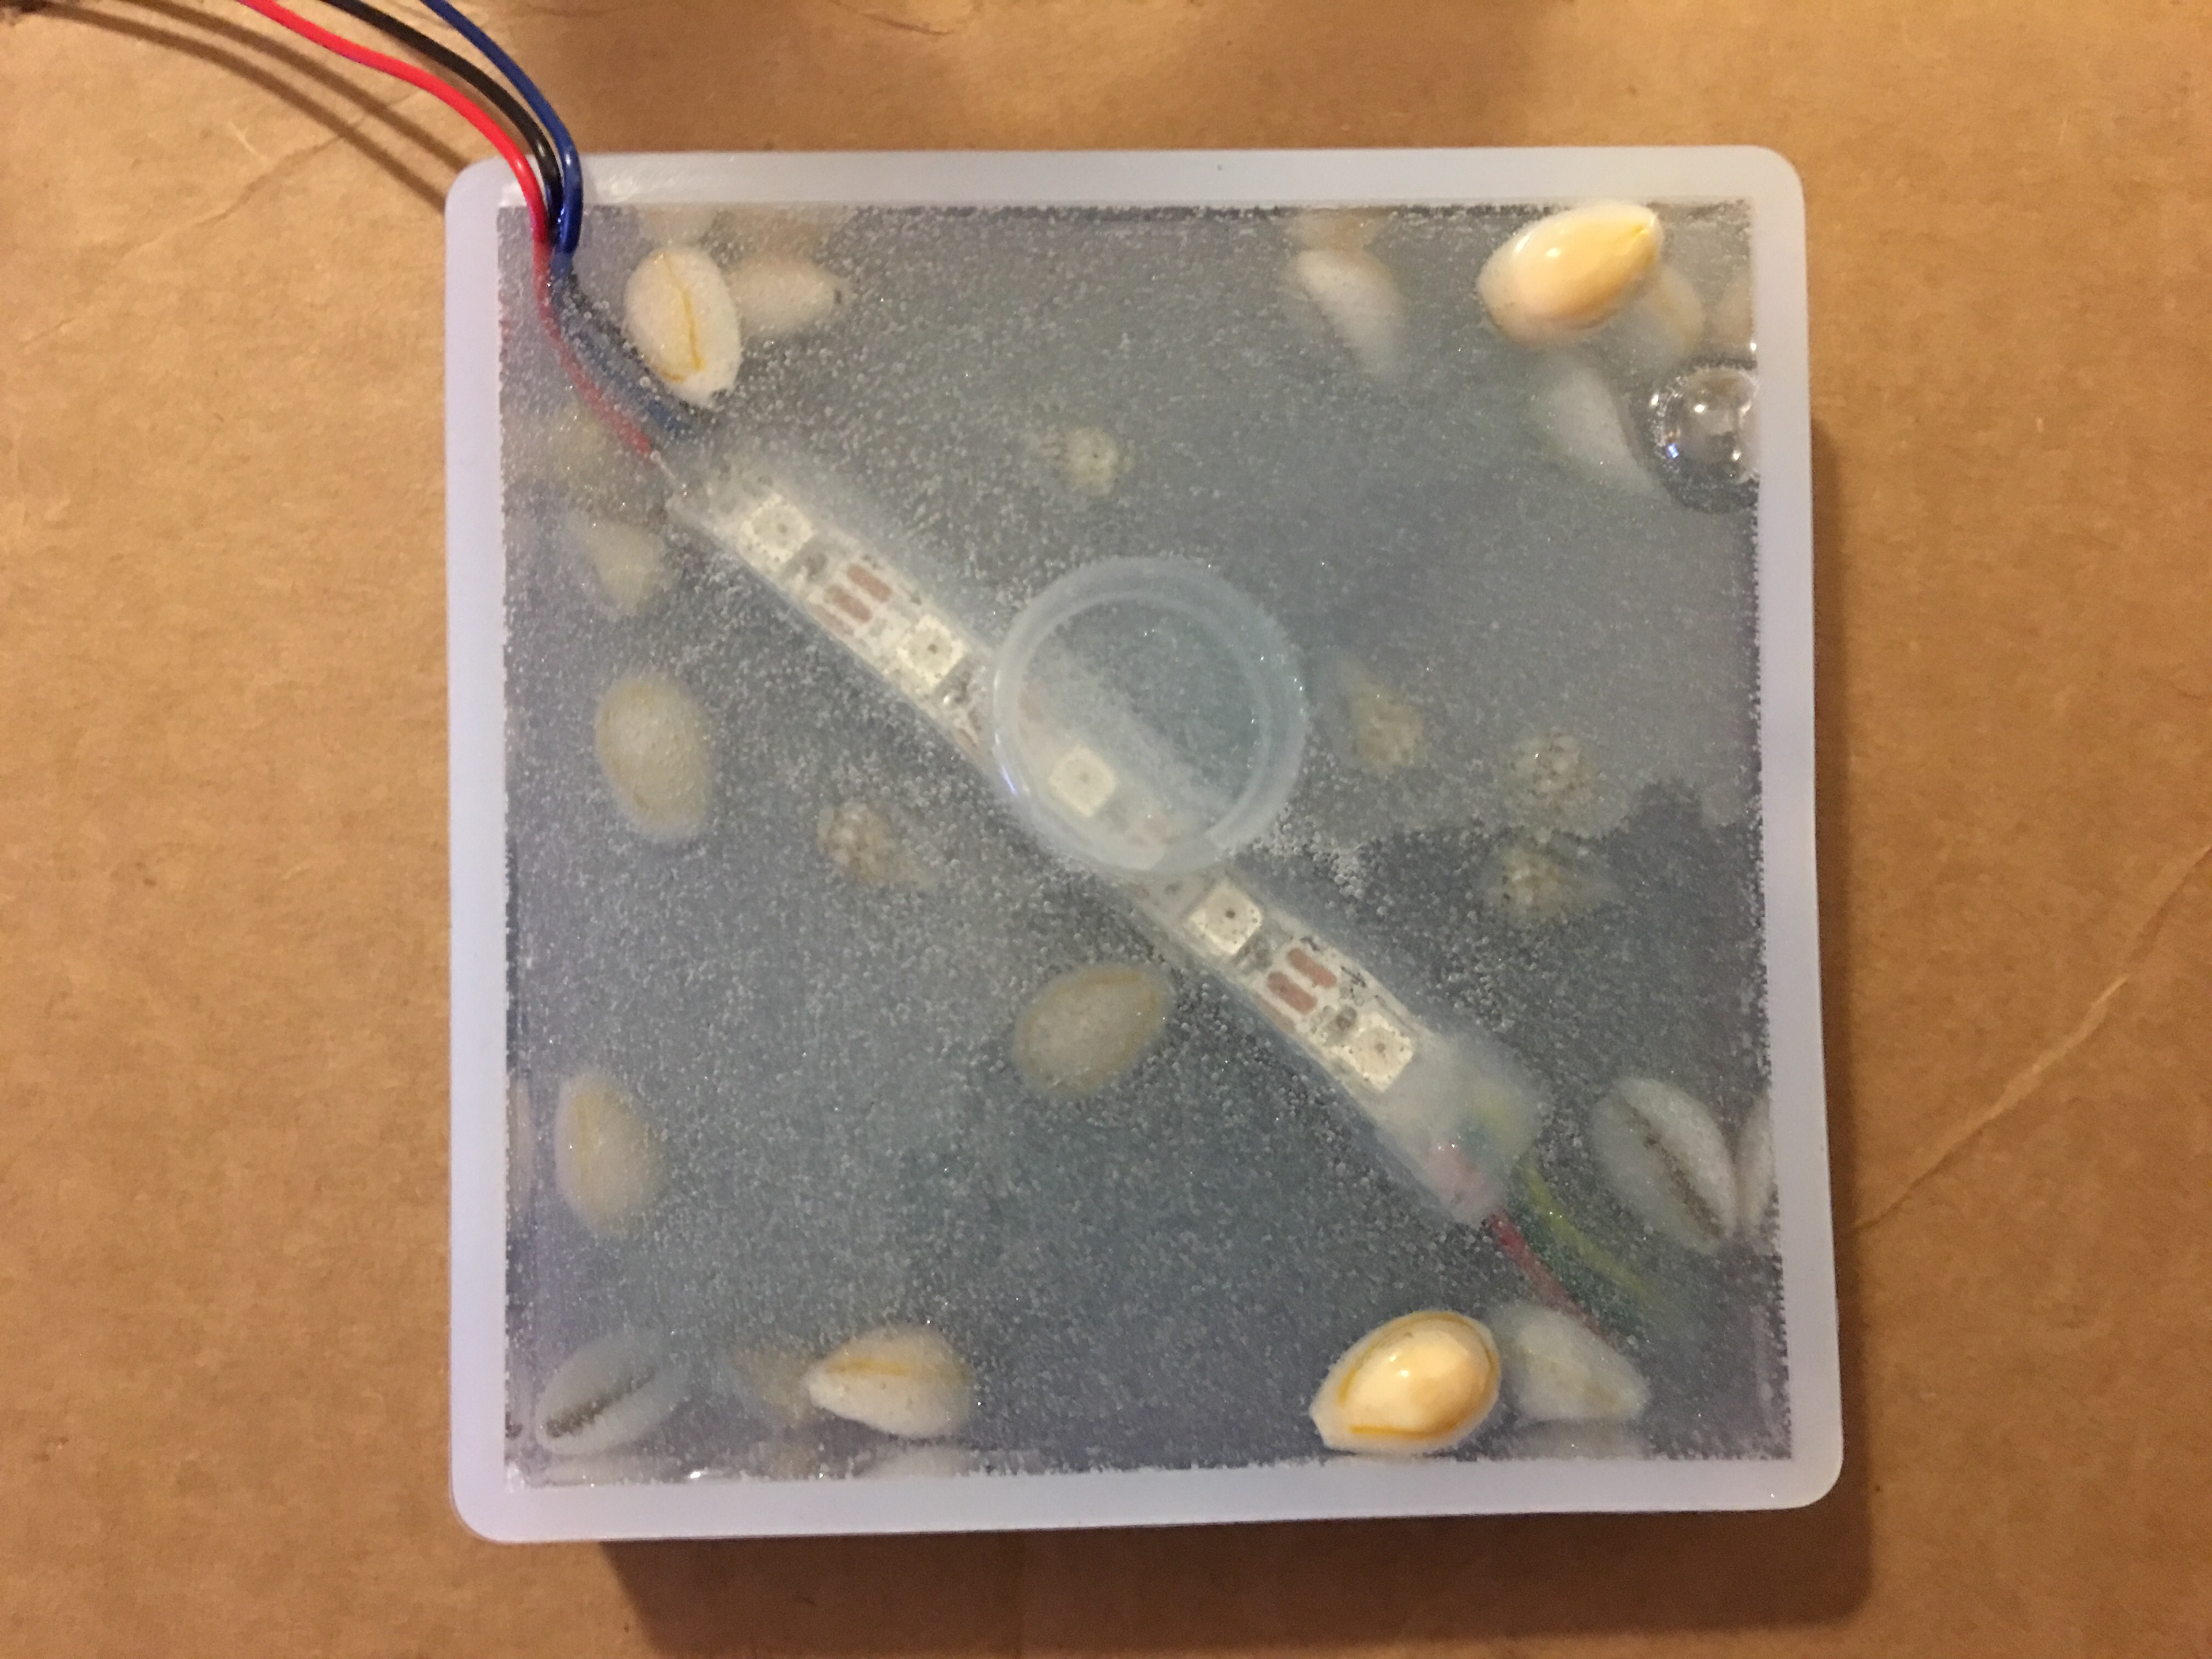
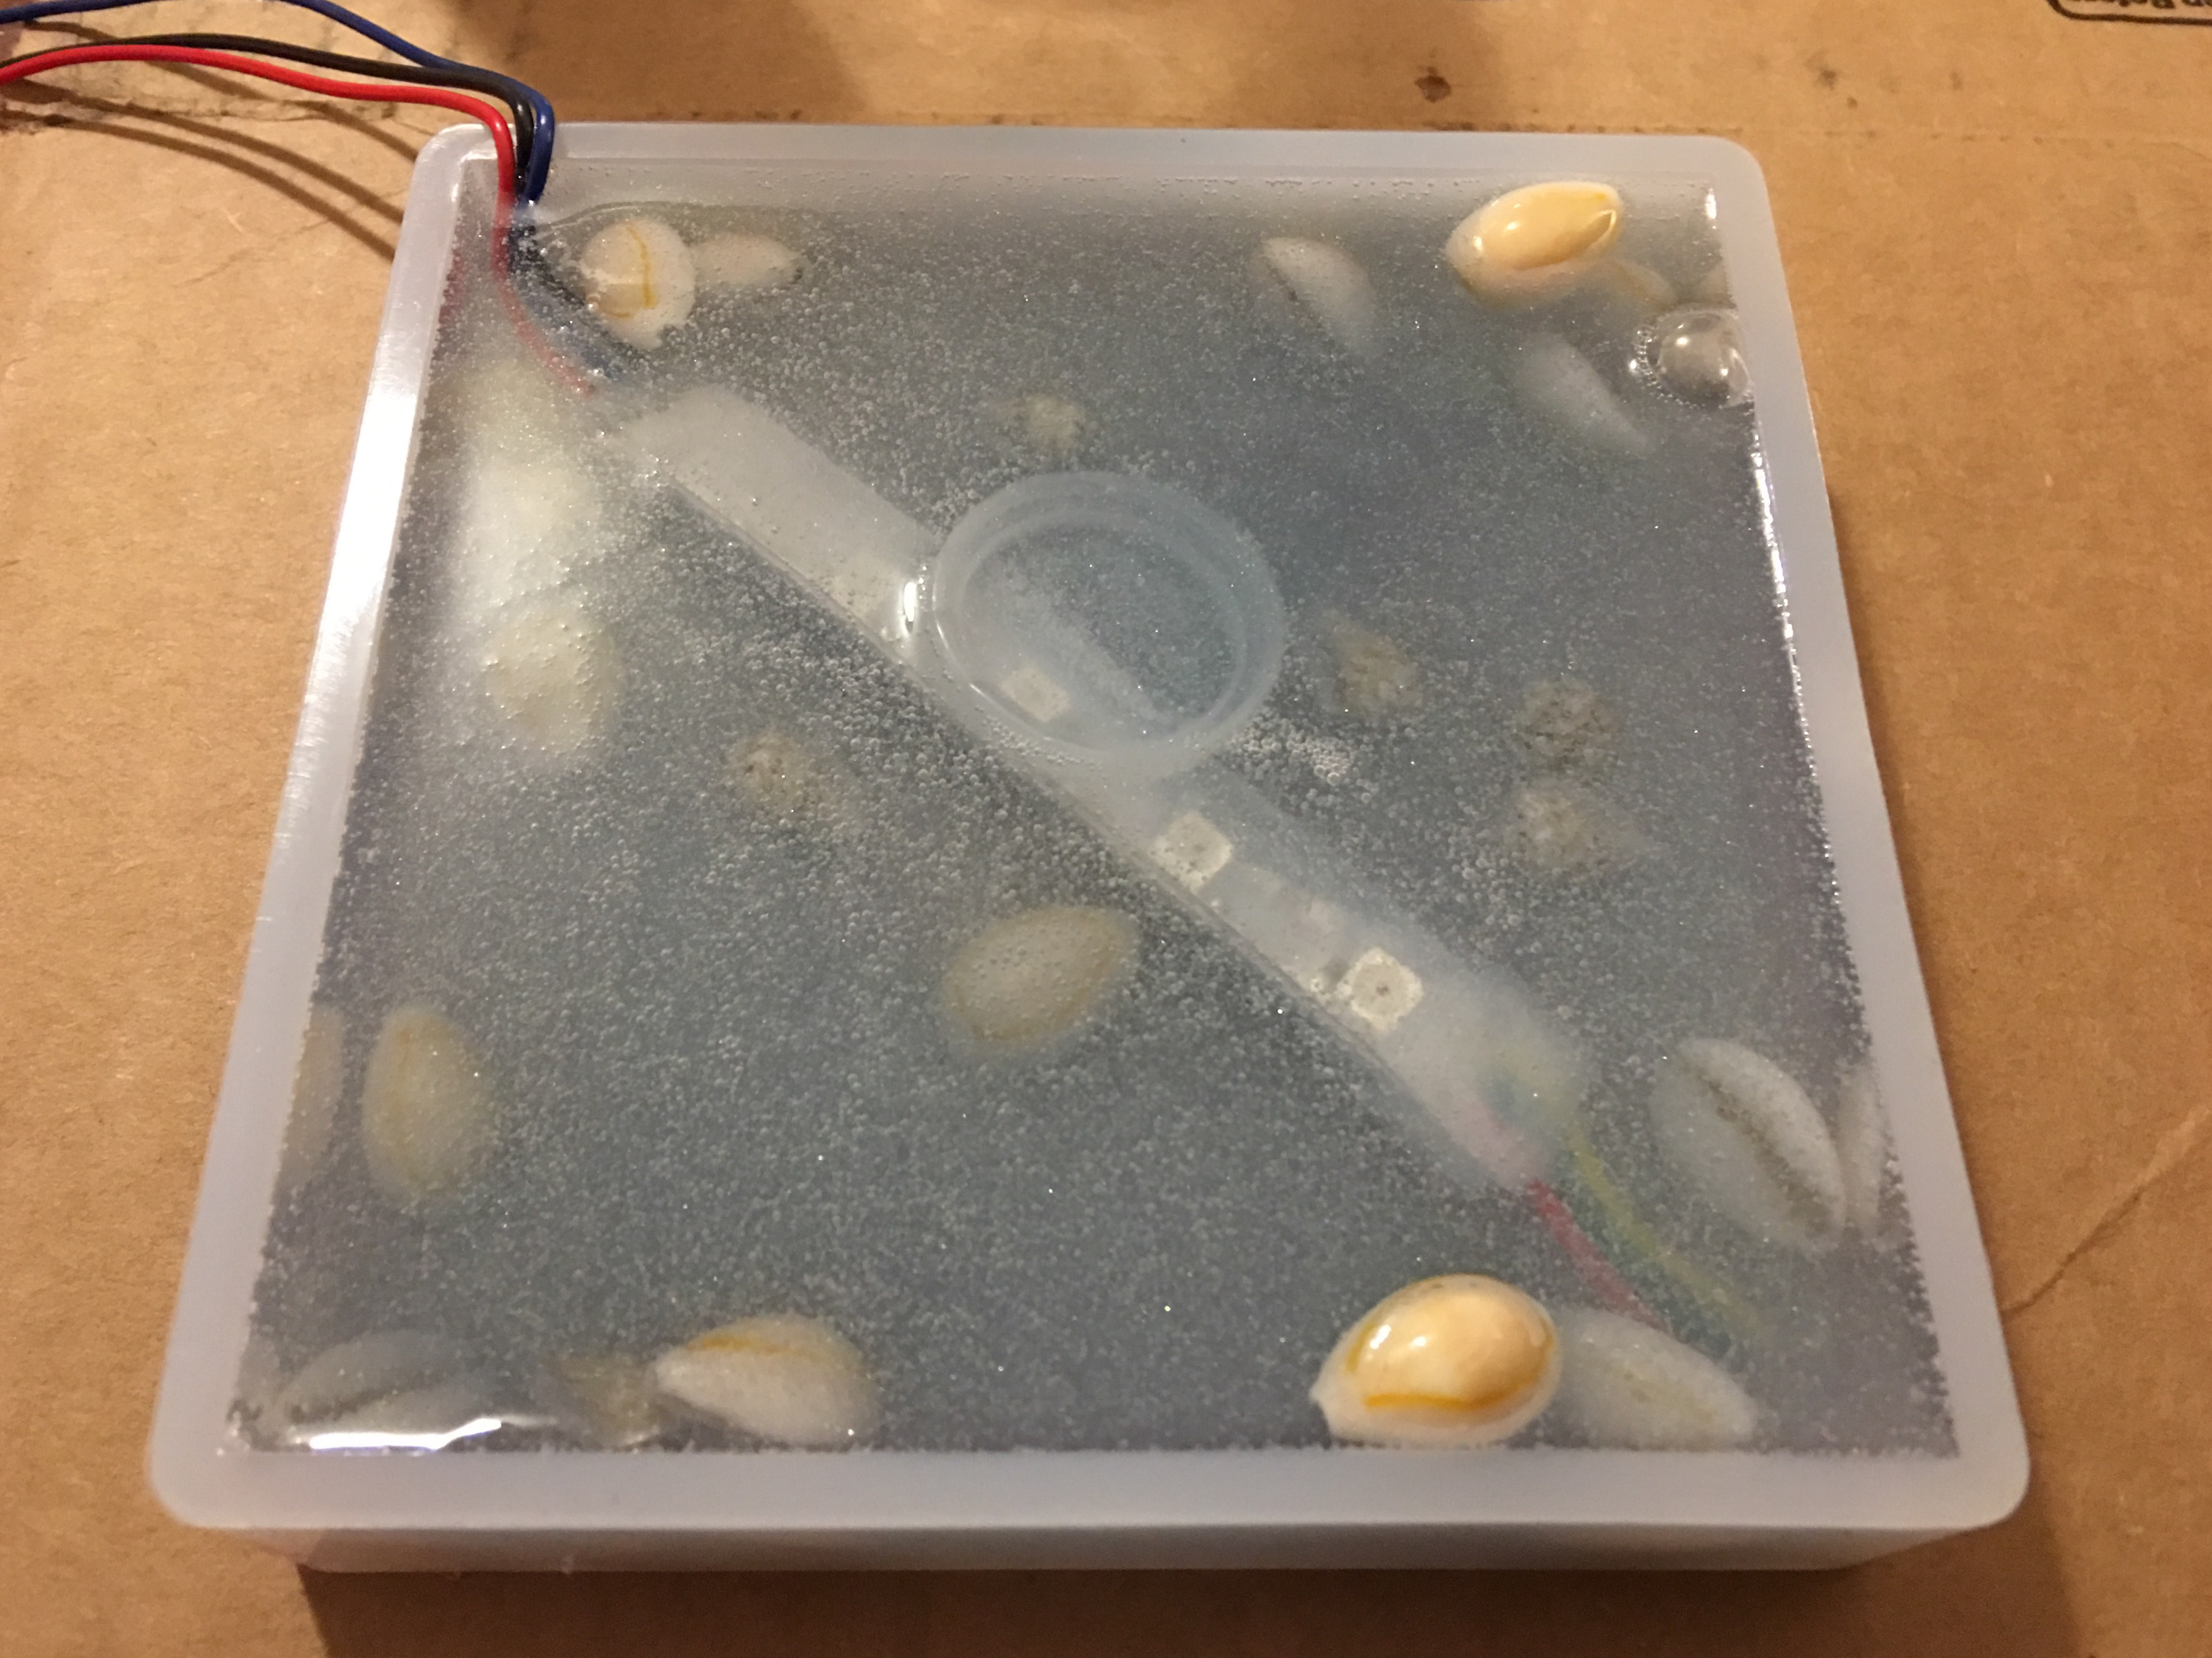
Above you'll see resin test #2 where I examined if the LED's would survive without the silicone weather sealant (they do), the flotation of various plastics, and curing traits of the resin epoxy. During the process I discovered the high temperatures reached while curing, over 205 degrees Fahrenheit!
Week 3
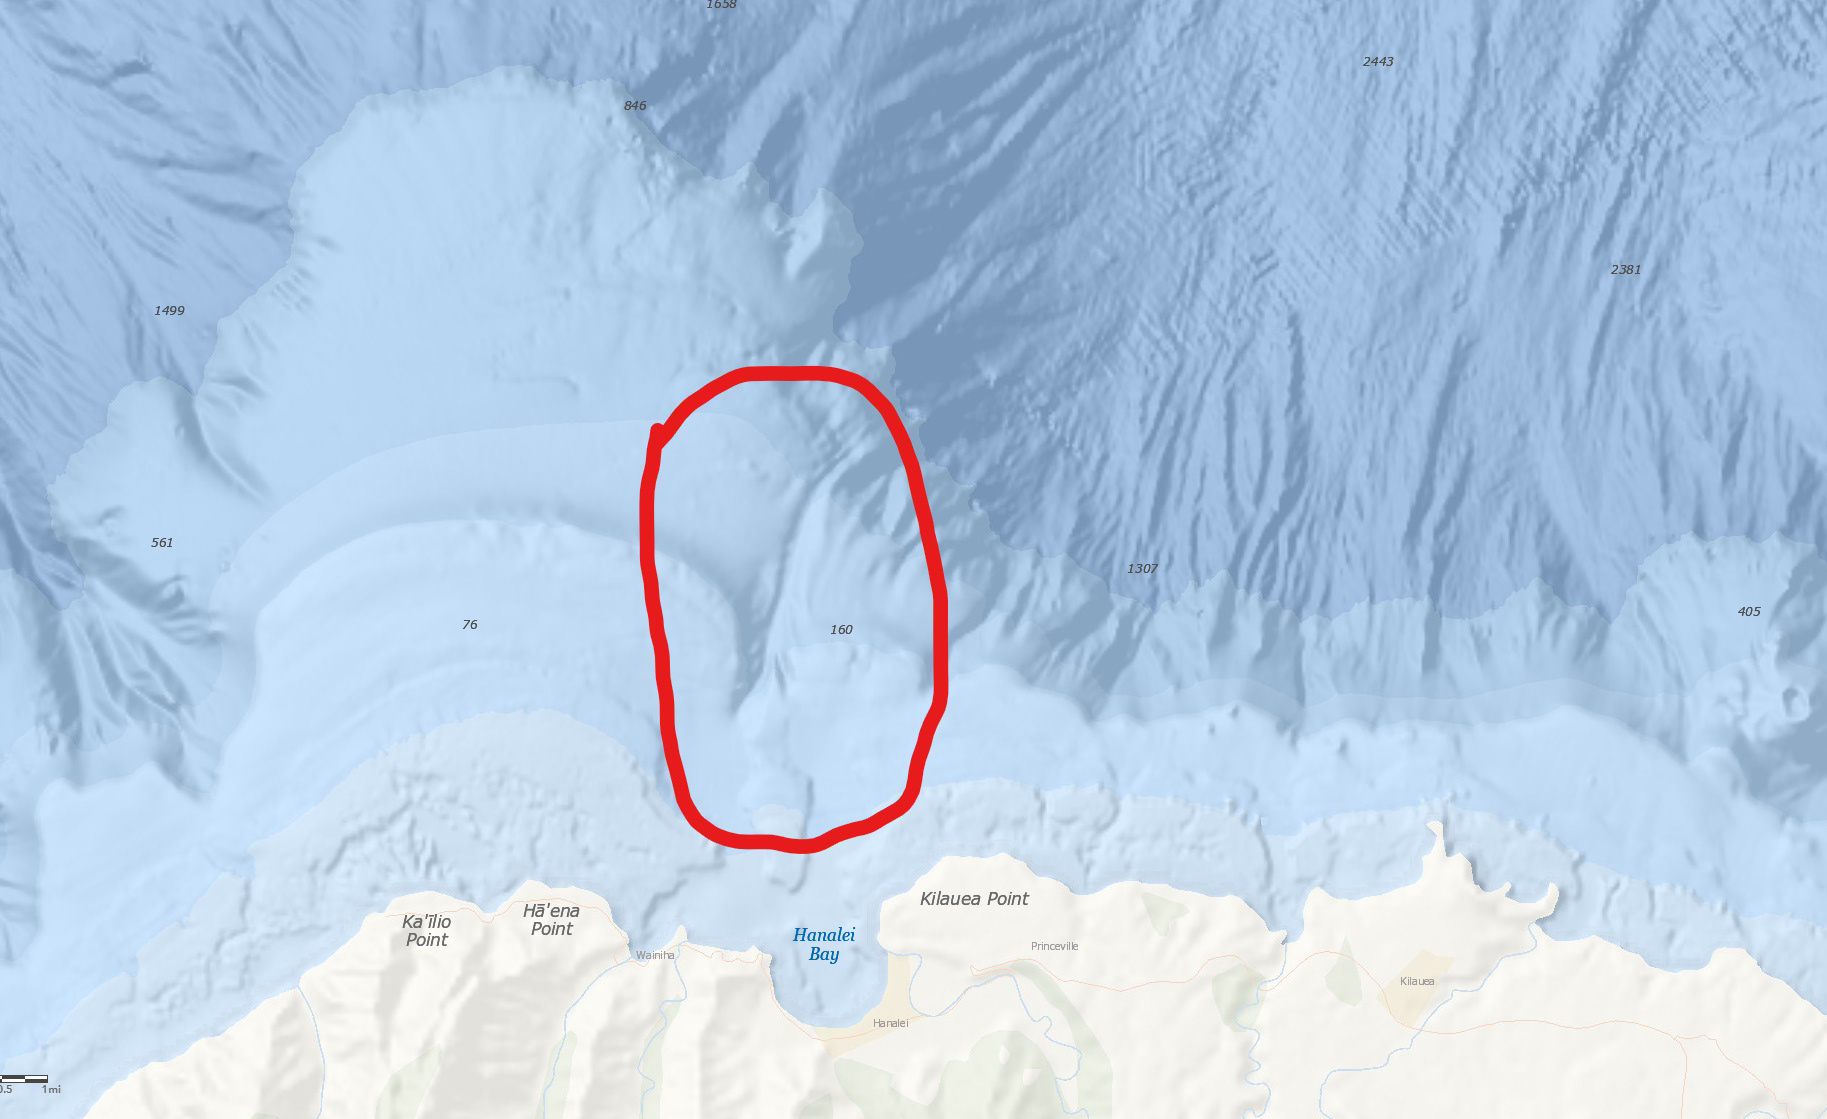
I was able to connect with Paul and get the ArcGIS software running on my computer. The only downfall with that is I haven't been able to locate any underwater topographic data anywhere. I've searched on NOAA & USGS websites as well as the mapping software itself with no luck. So I might have to just locate a land-based area to replicate underwater data, maybe some place with good erosion like Moab, Utah or similar.
Melamine board, flash tape, and other items were secured to make the casting mold. I also purchased an orbital sander with a lot of extra sanding discs (from course to fine grit) to prepare for the large amount of sanding and polishing that will need to happen in order to make it shine. A collection of sea shells and plastic pieces have also been gathered and ready for submersion in the epoxy. I also got some small straps to be used in securing the LED strip and other items that may want to shift during the pour and curing phase. This was learned in earlier prototyping pours and I'd like to avoid items from shifting in the big pour.